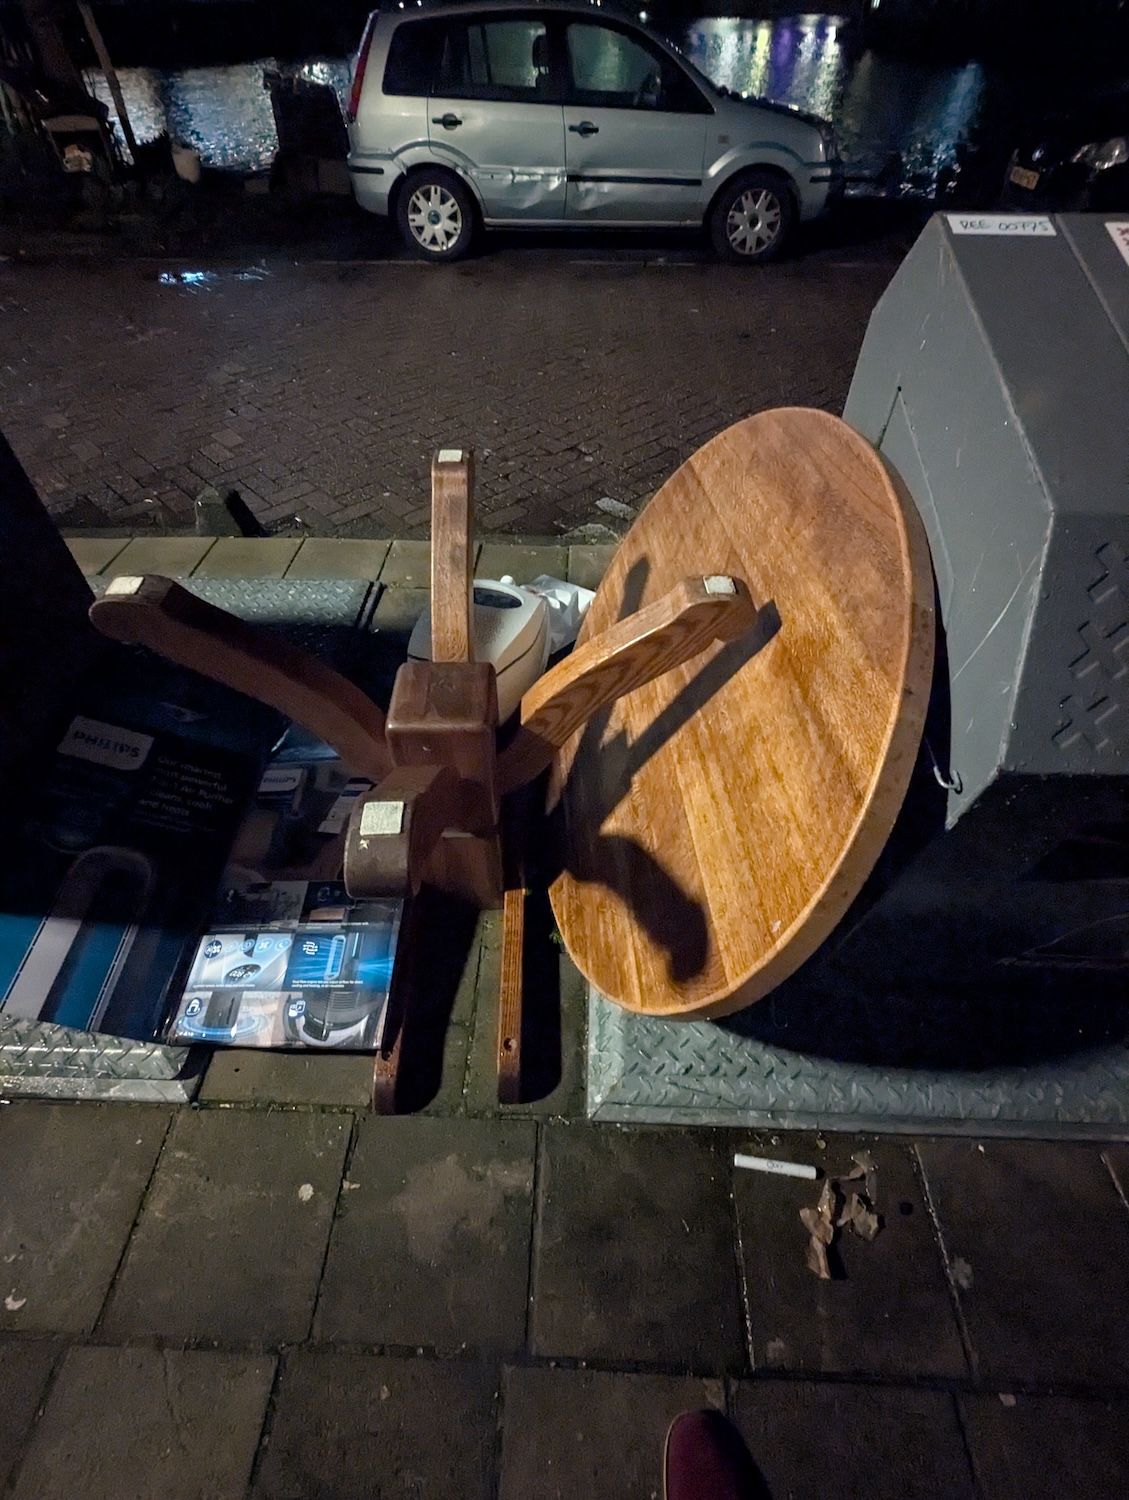
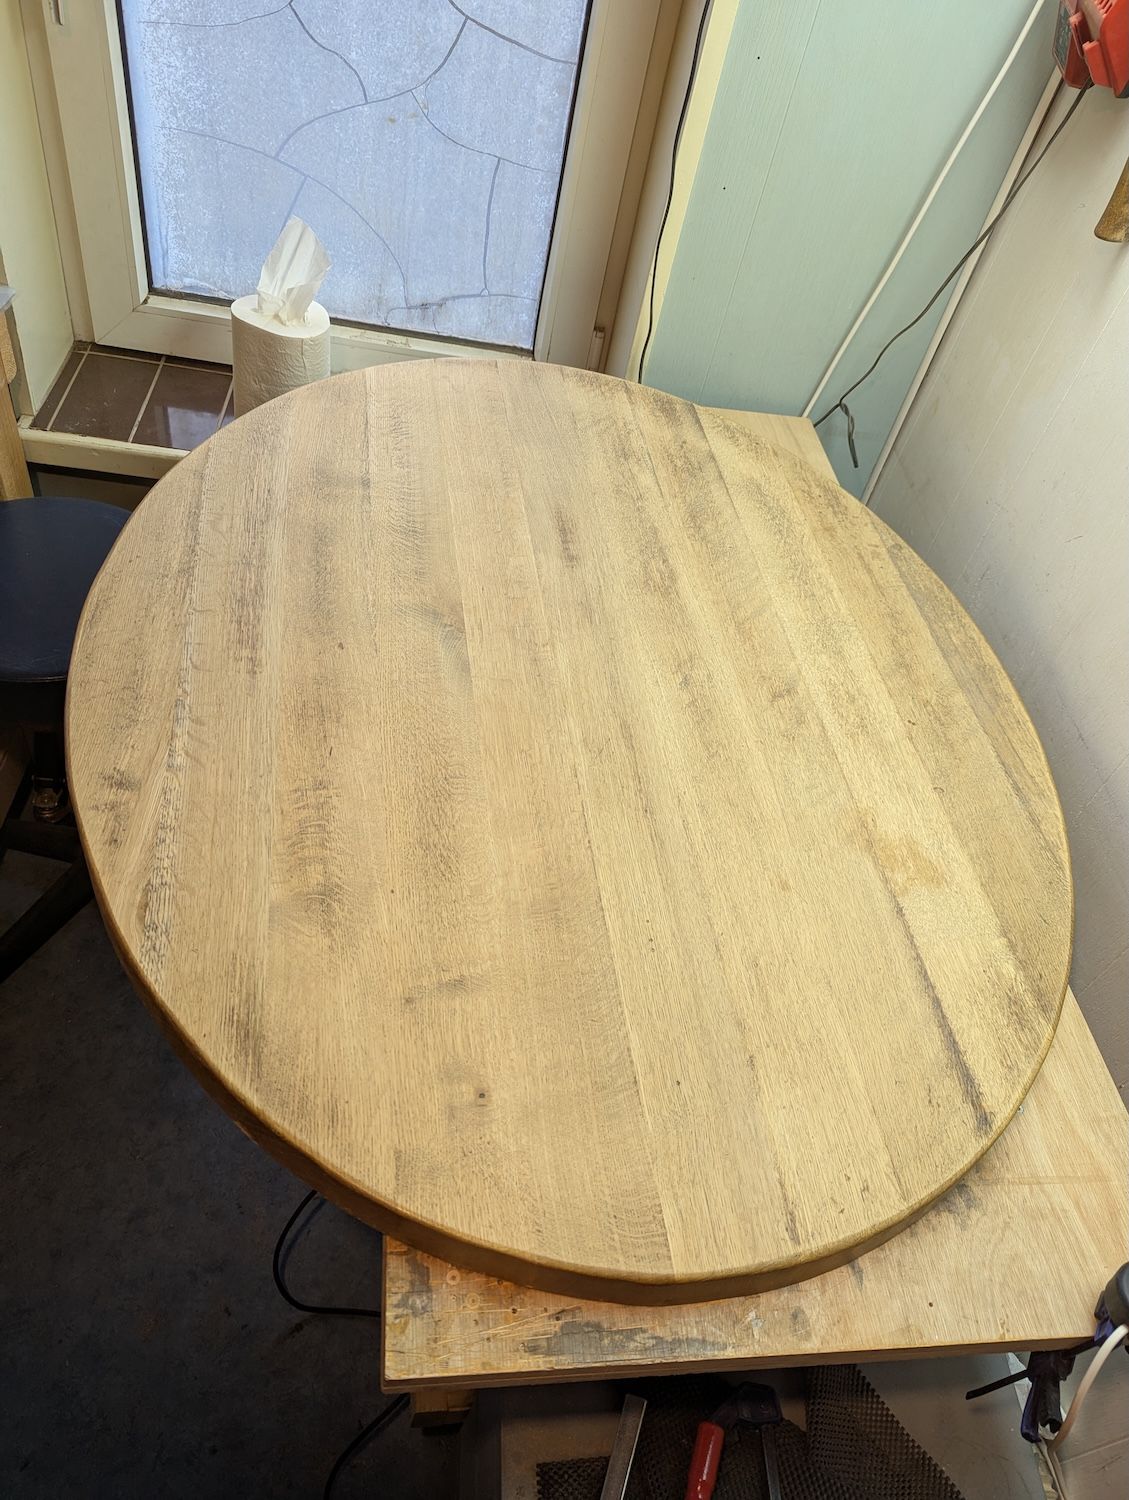
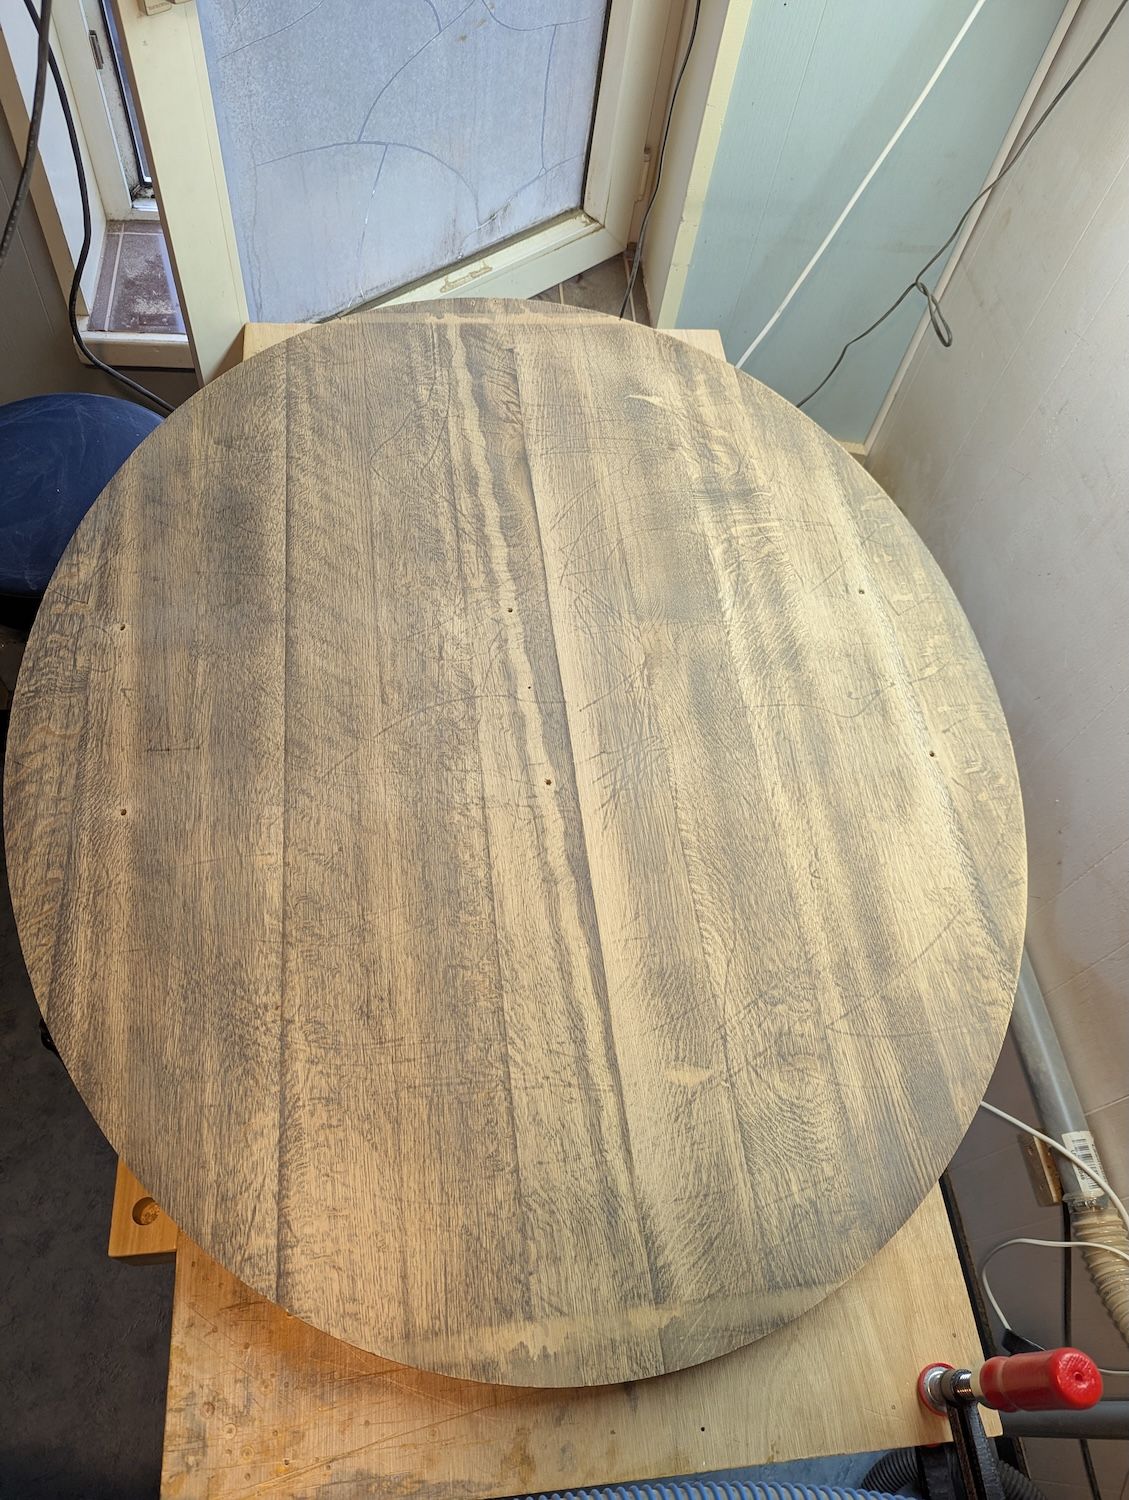
One of my biggest projects to date. I found this awesome table on the side of the street that someone had decided needed to be thrown away… Normally the stuff that gets thrown away is particle board stuff but this was a solid 4cm 120x90 oak table top 🤯
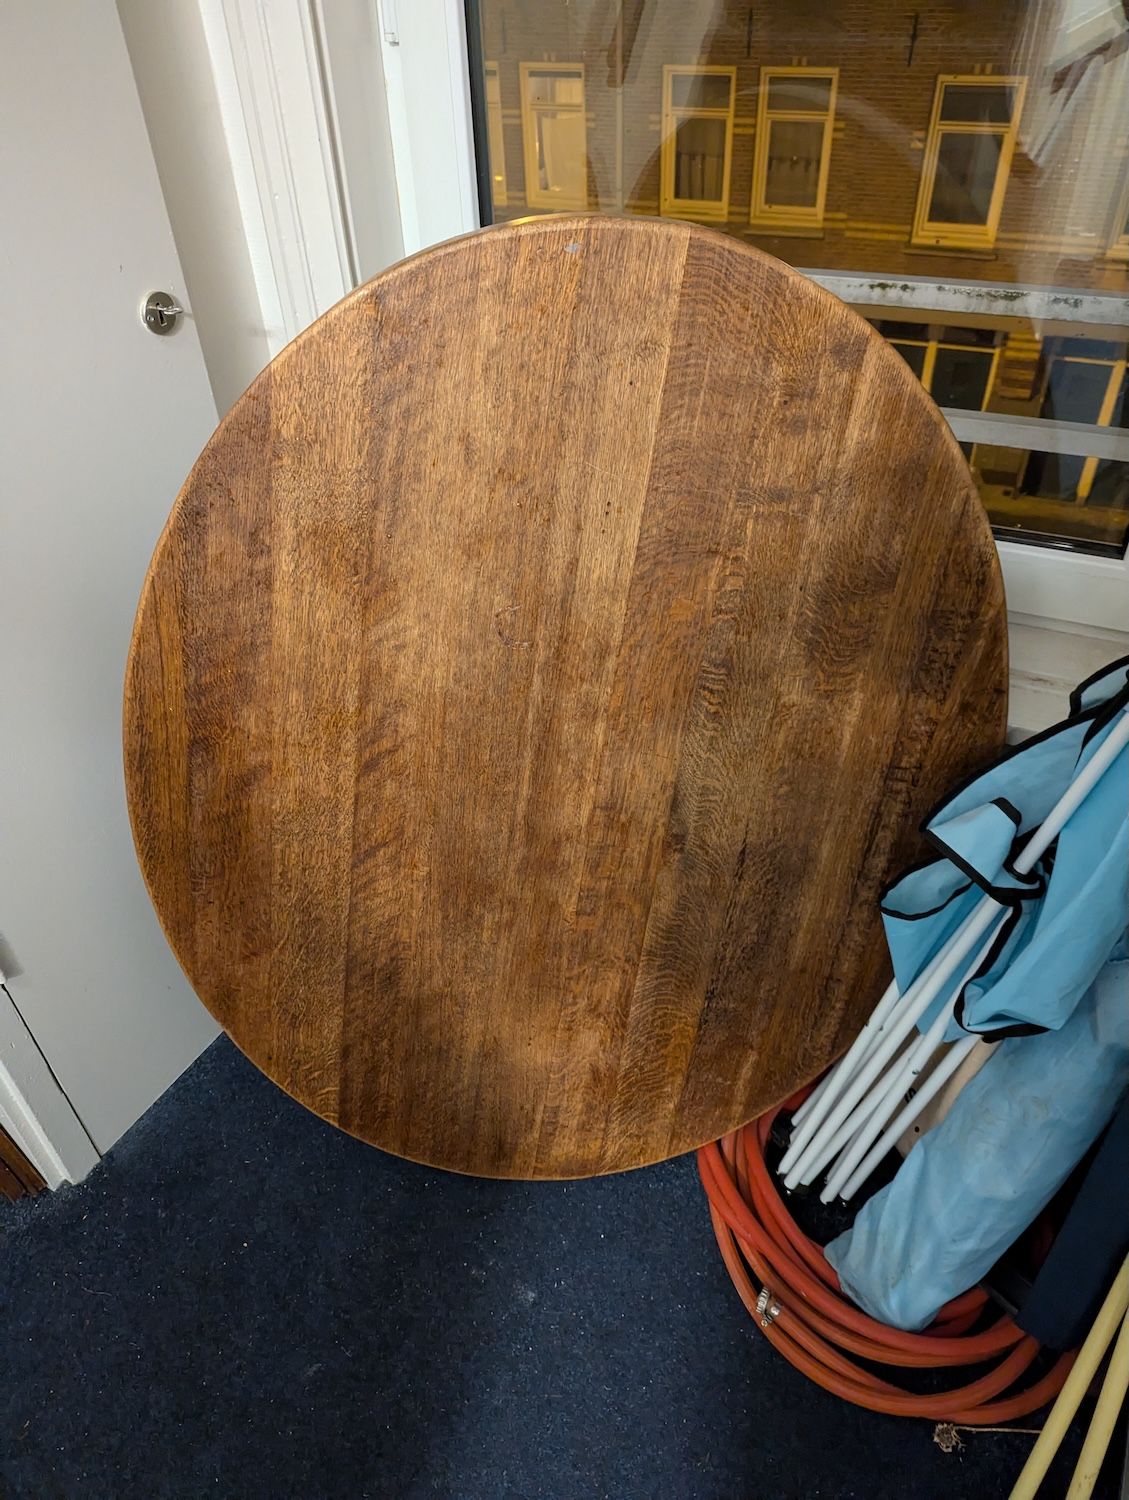
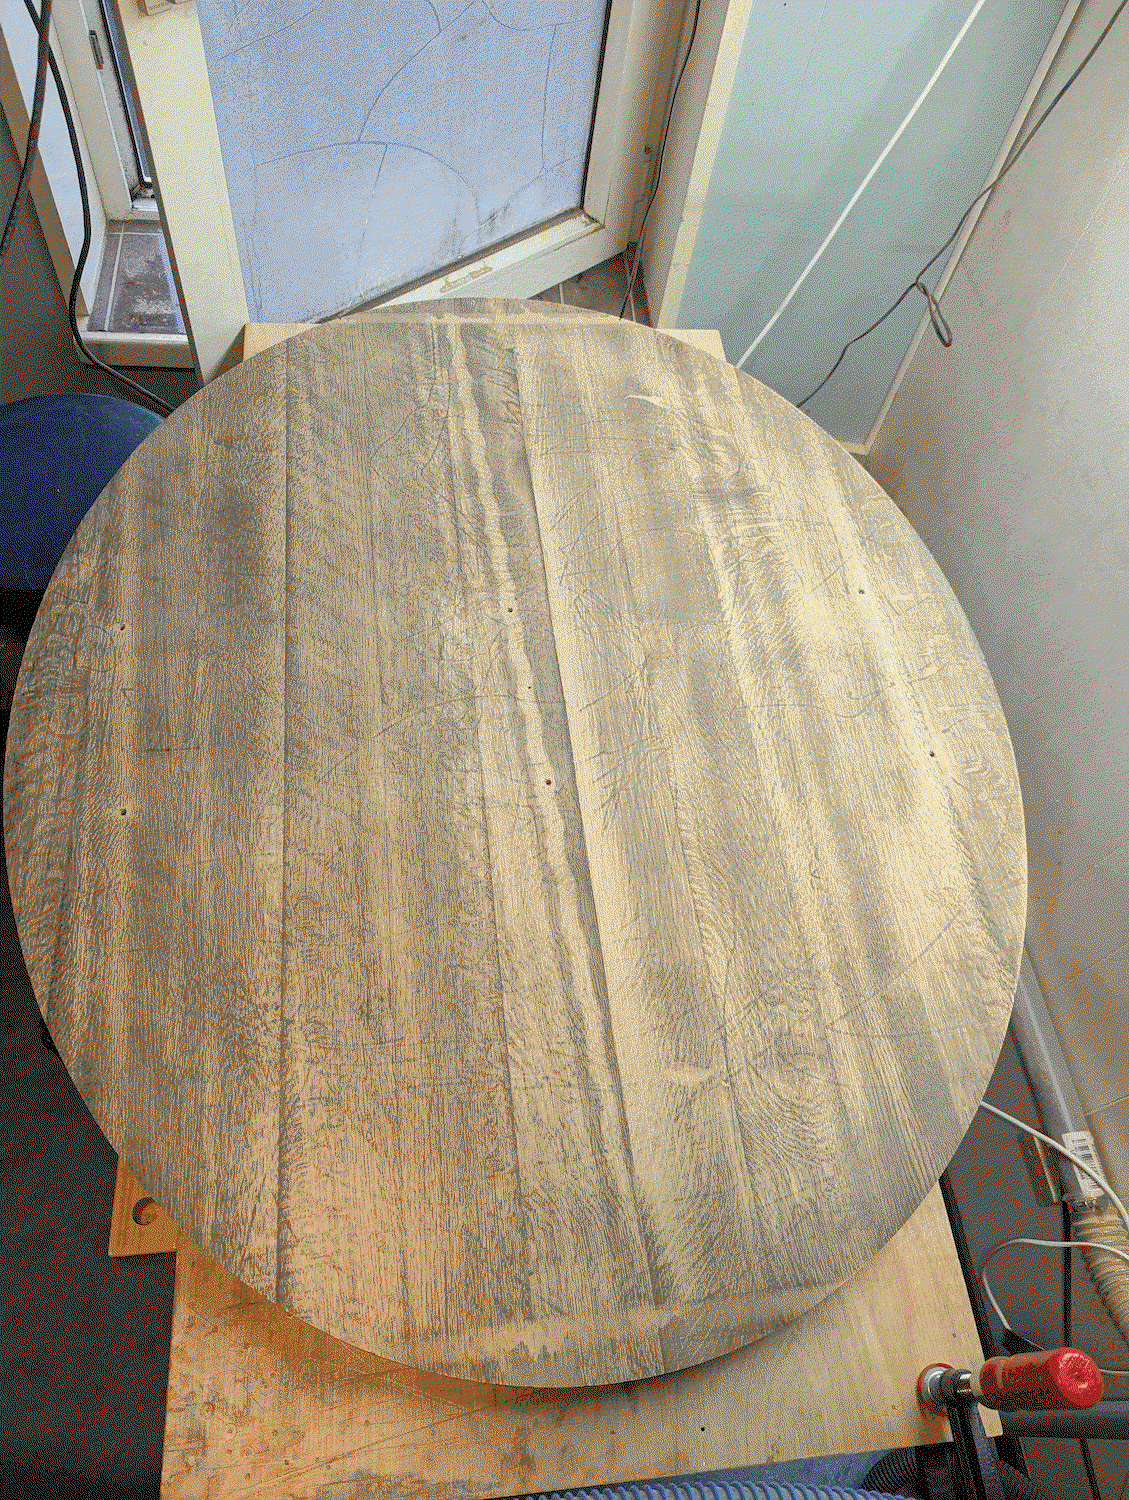
Although it was quite discoloured and it has that very old fashioned color, i knew underneath that patina was some beautiful oak. So i decided to sand it and get rid of all the discolouration and to see what we are working with. I have no access to an industrial planer that would fit this so i gave it quite a few hours of TLC with my sander 😊 I started with the top, just to get an idea.

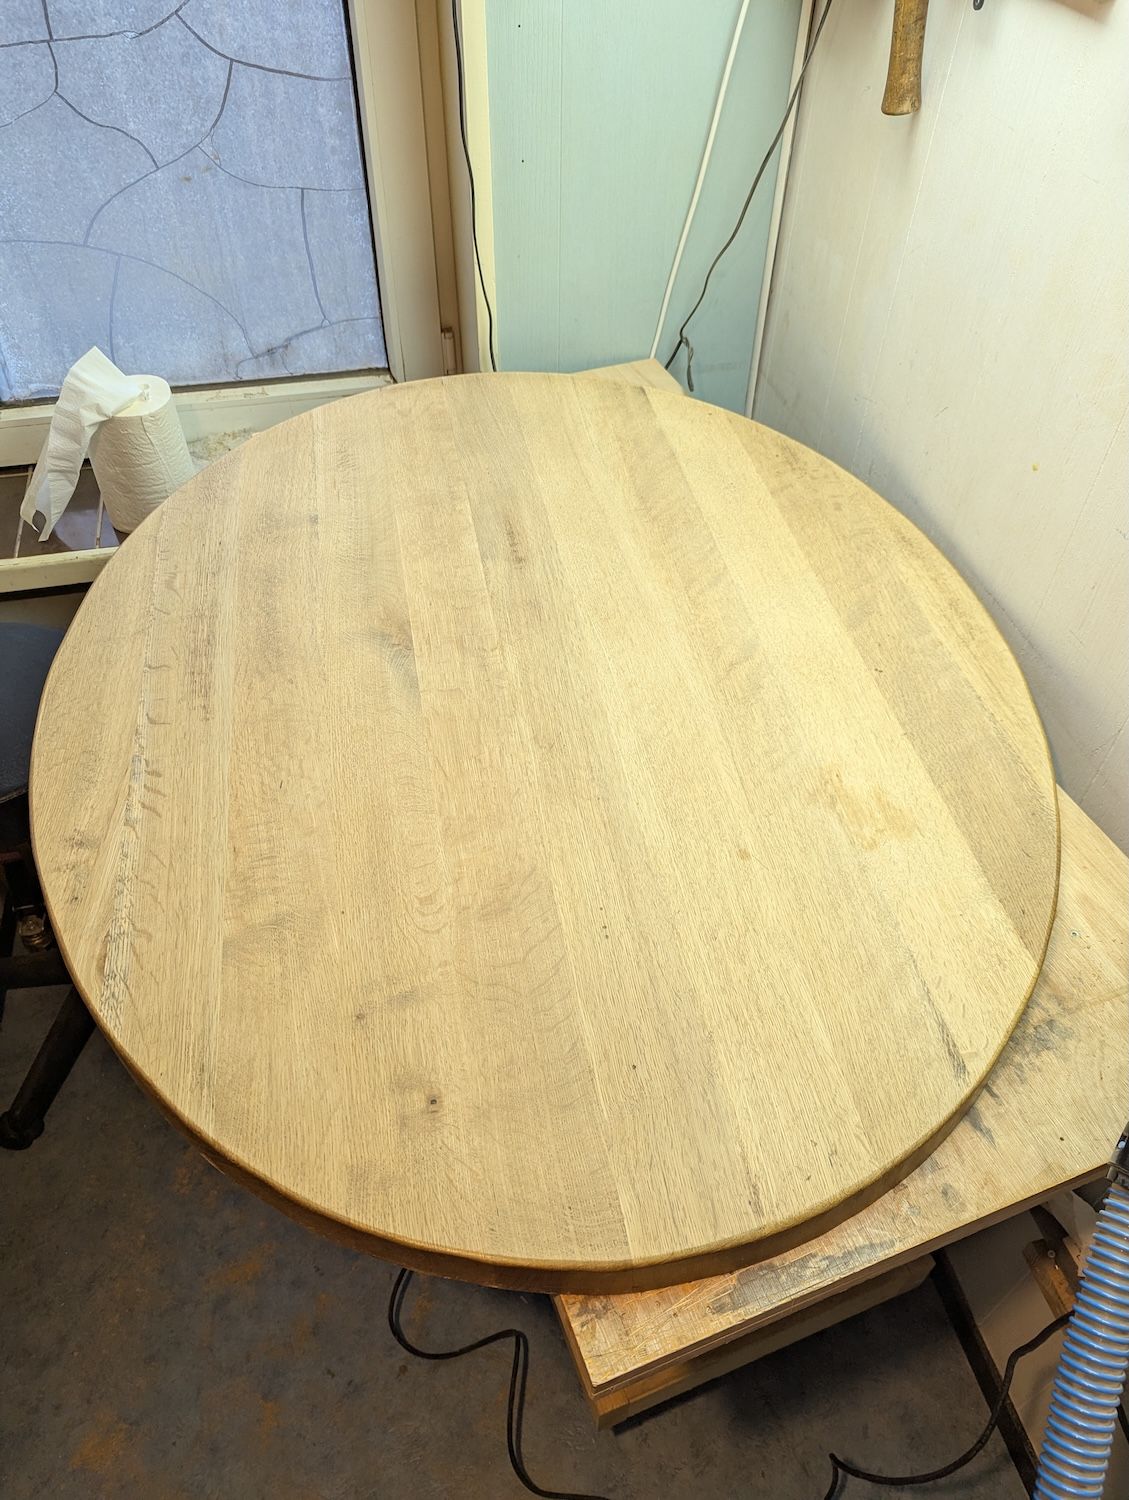
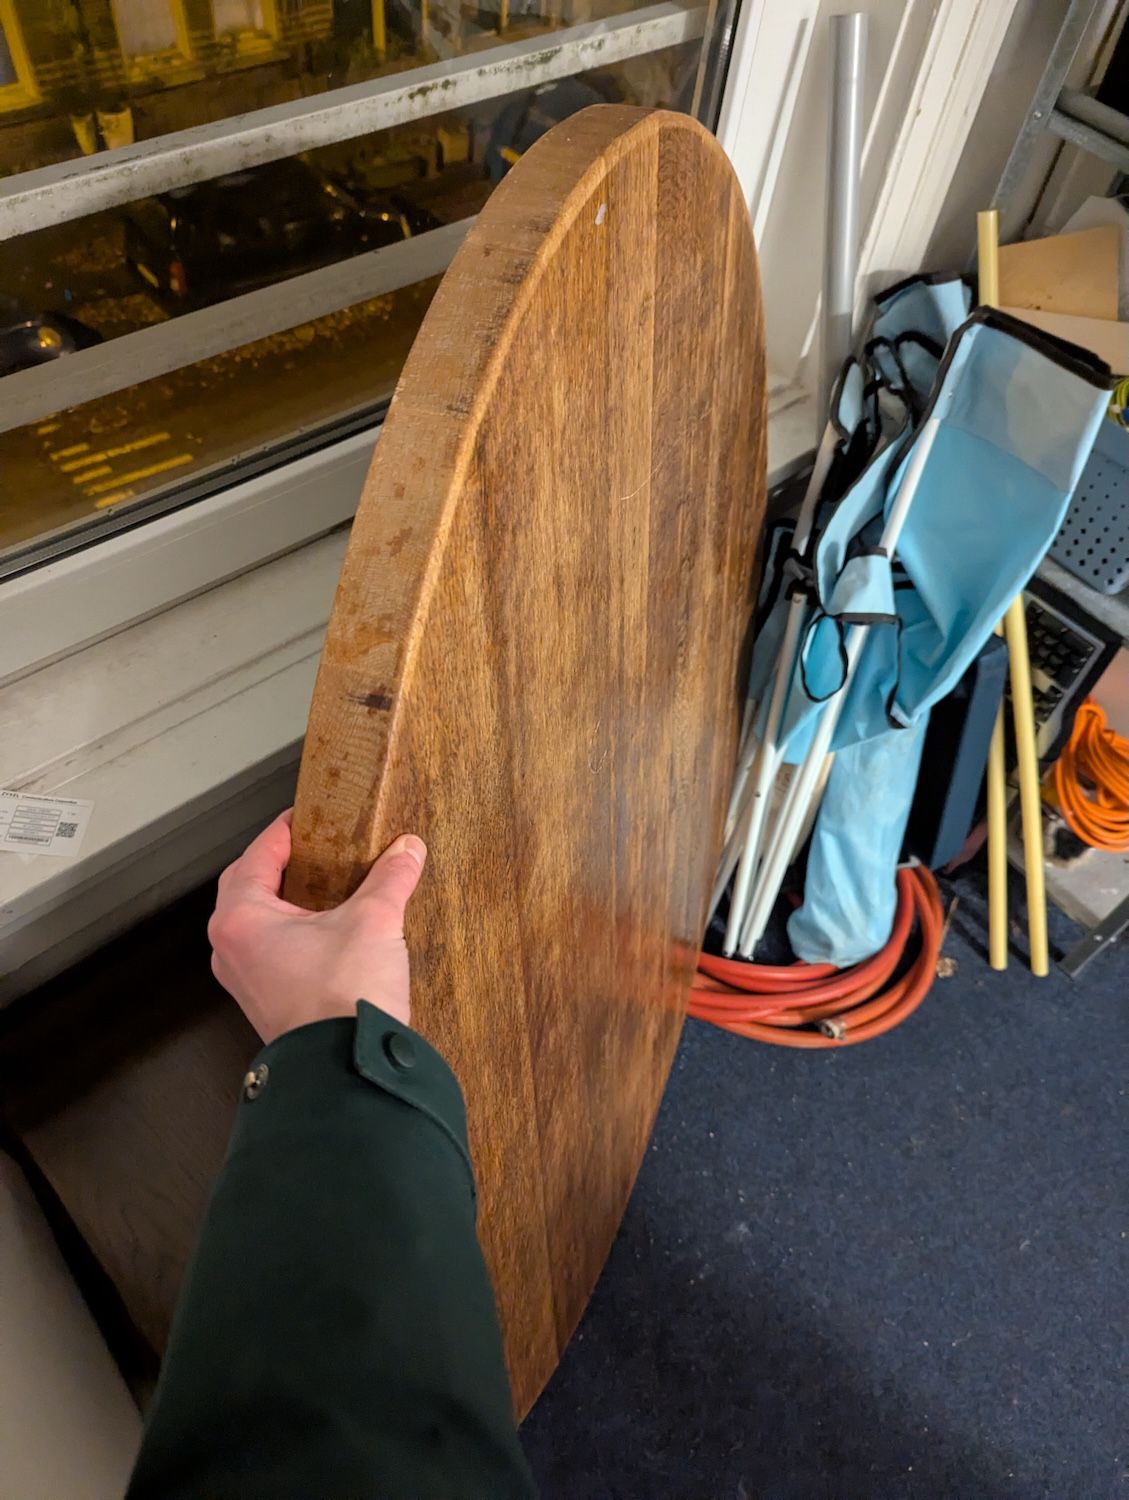
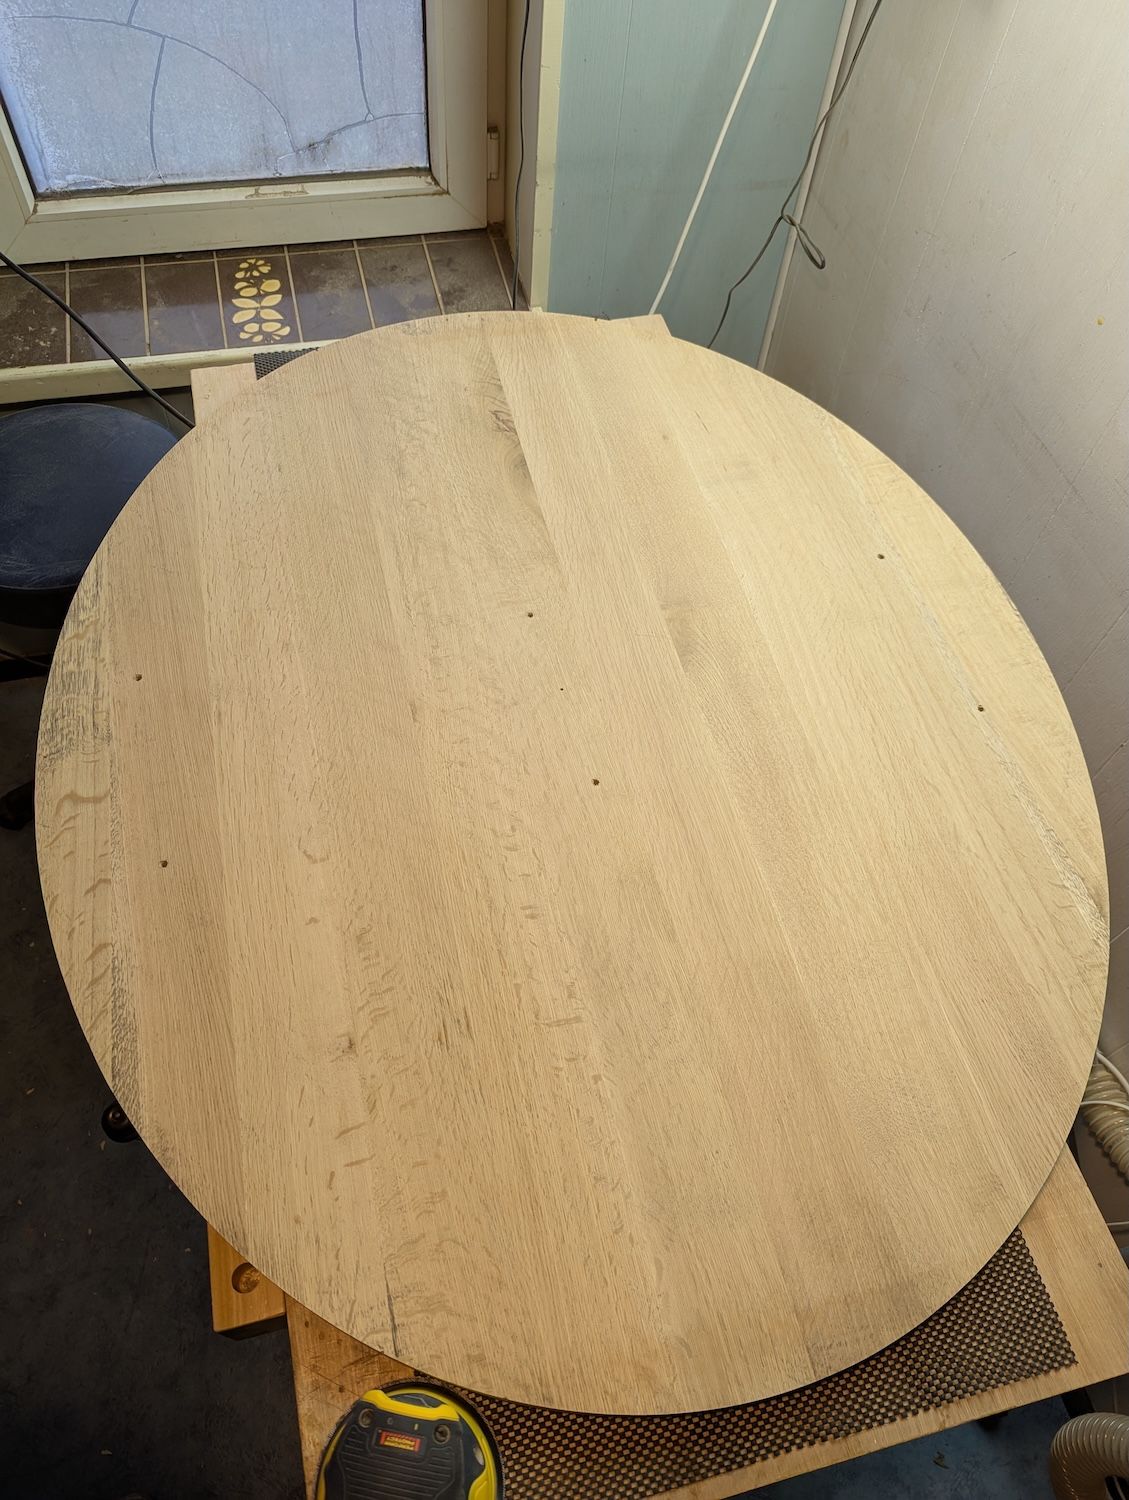
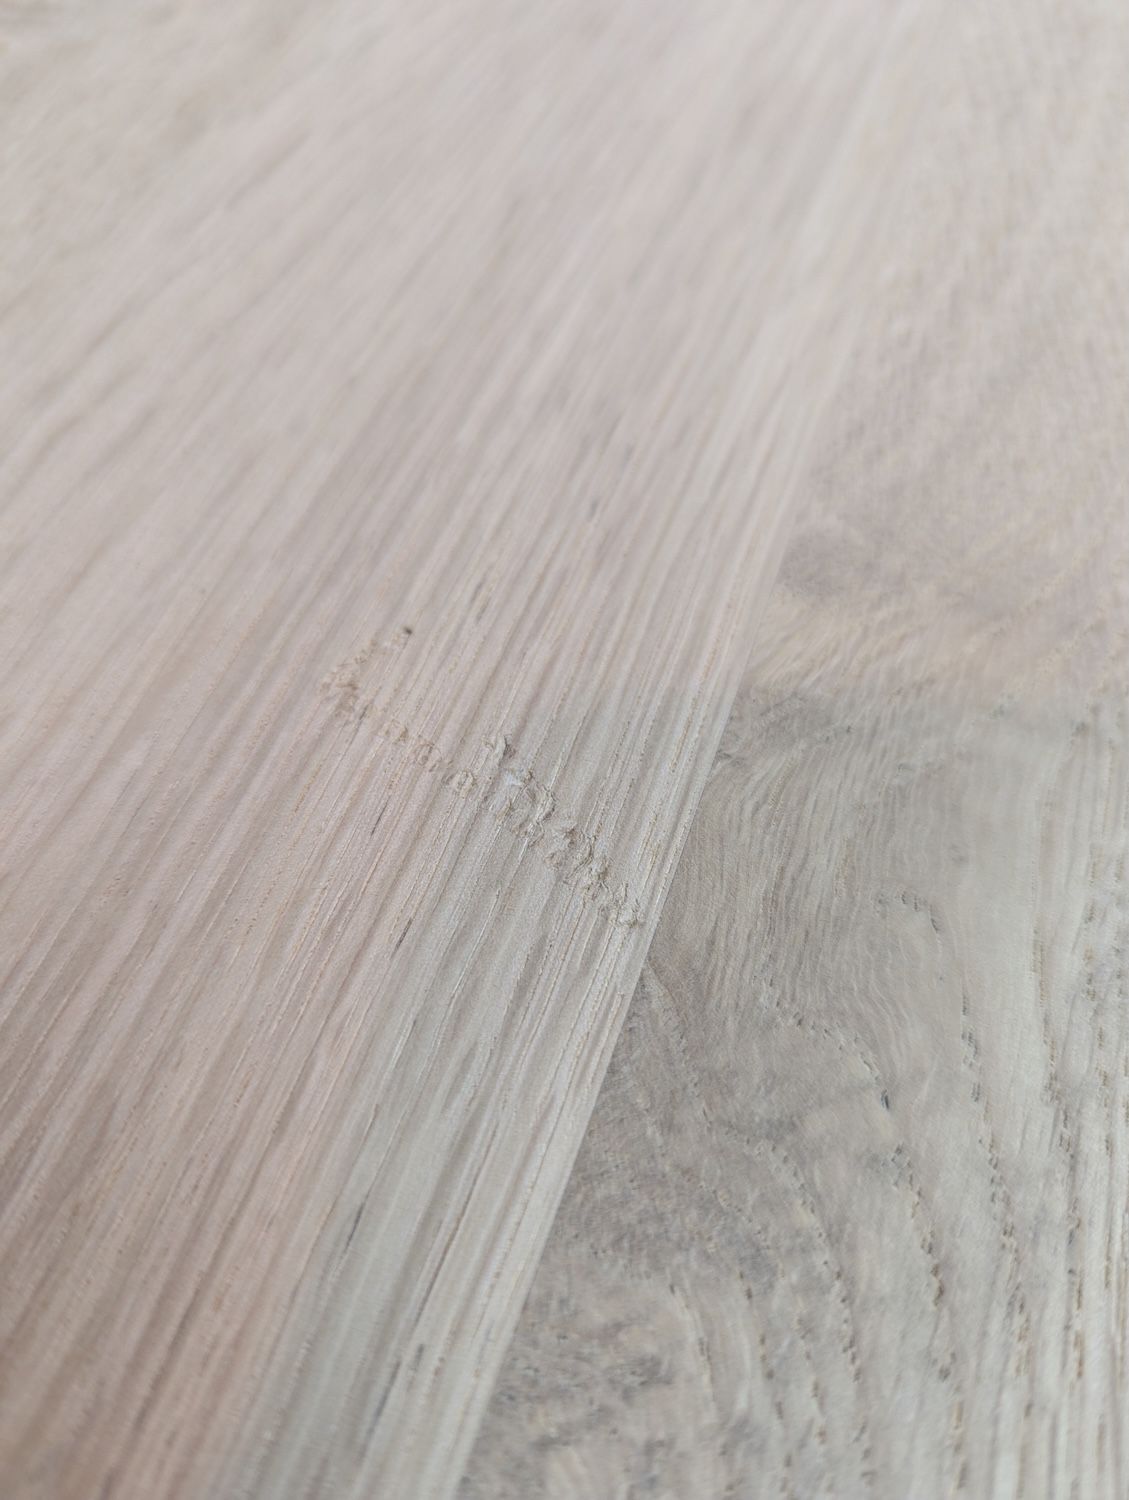
I was quite chuffed with the fresh look and was stoked to get reshape the table a bit. The edges were a bit rough sawn and had some wobbly edges. Im guessing this just happend over time with wood movement or it was just slightly rough to begin with.
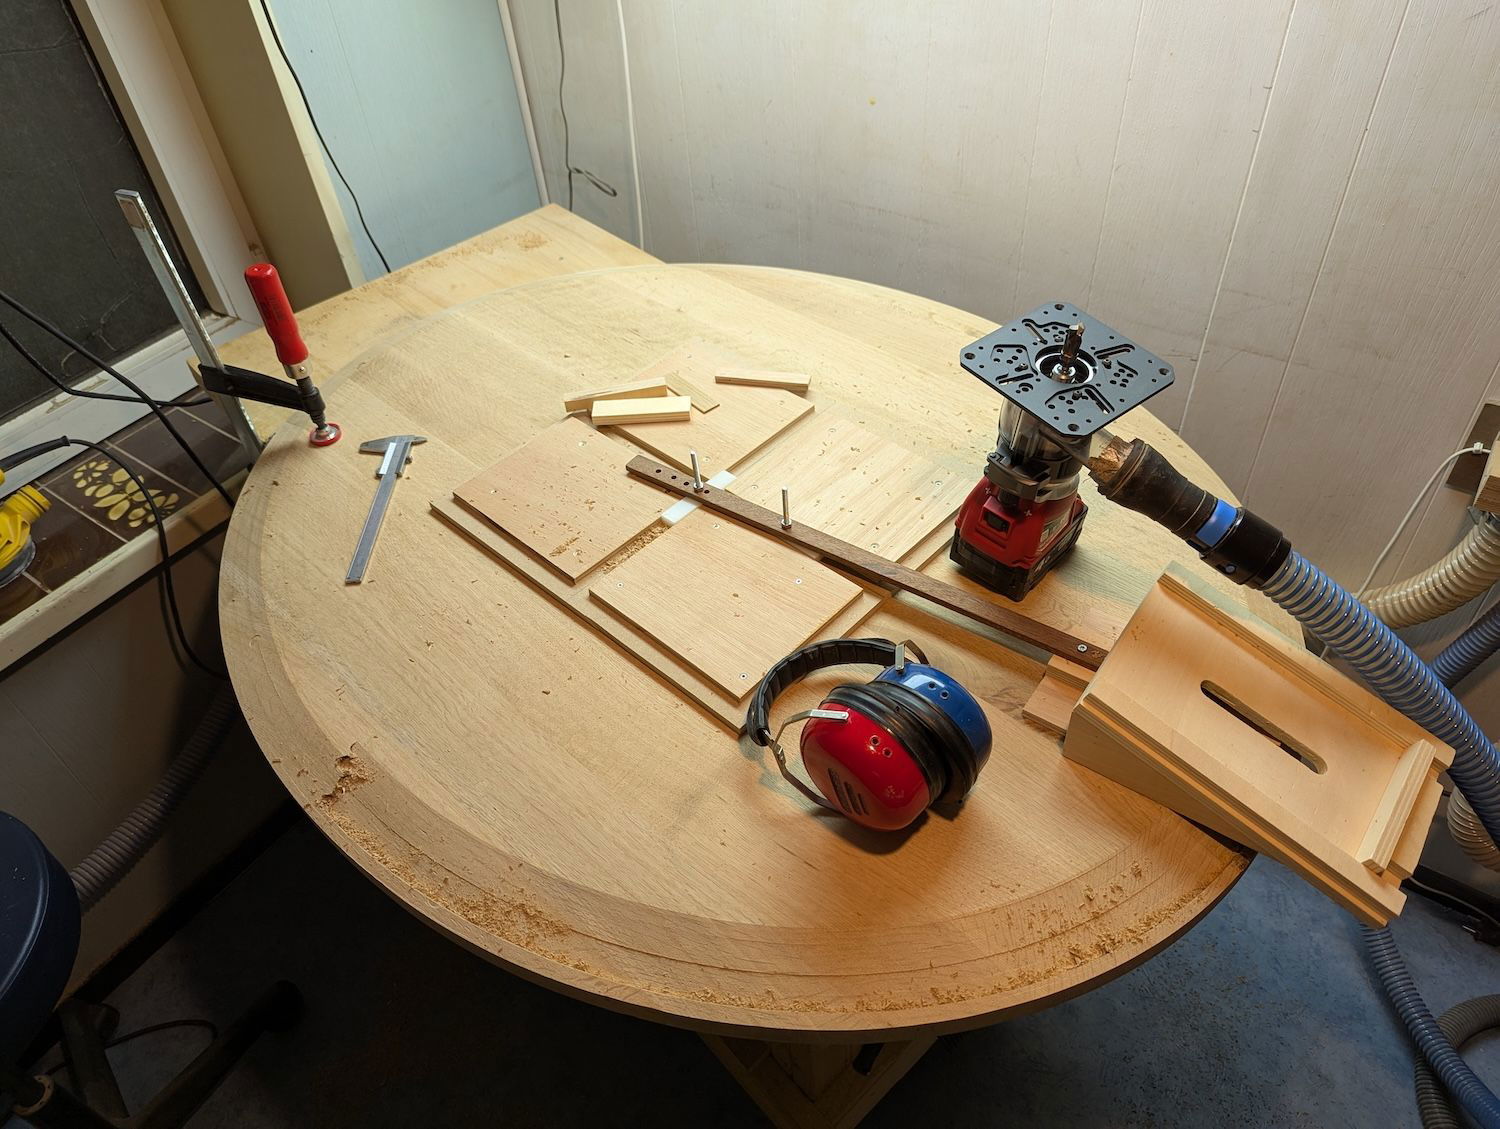
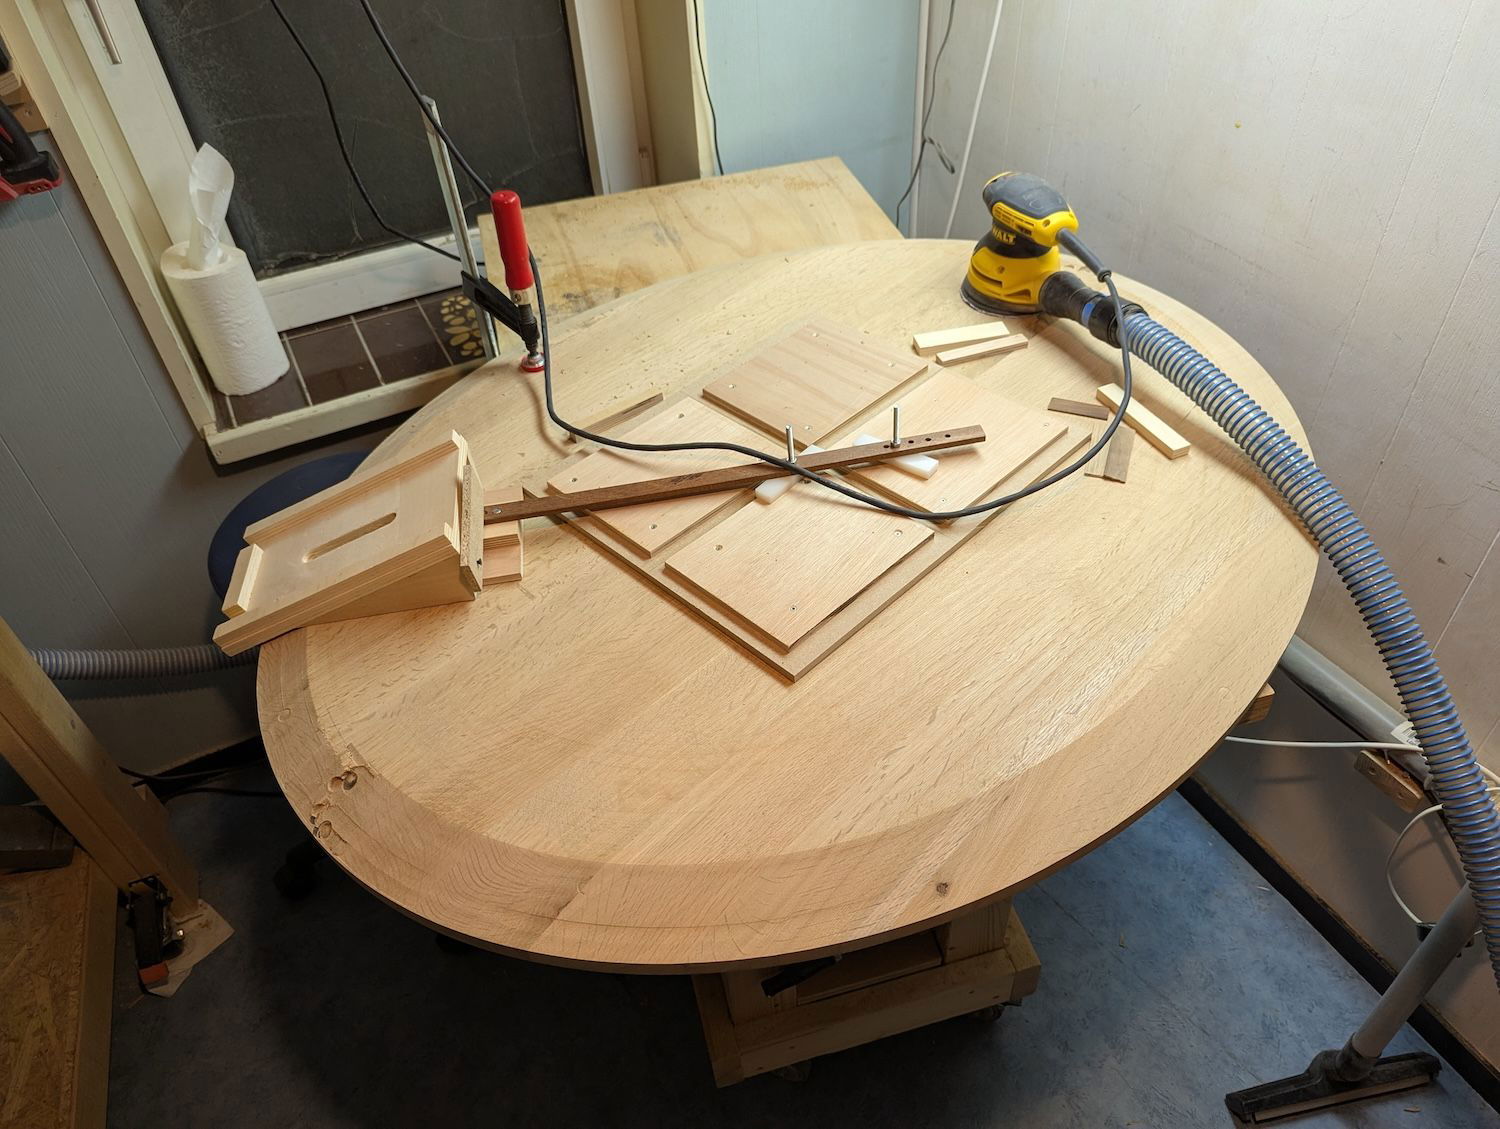
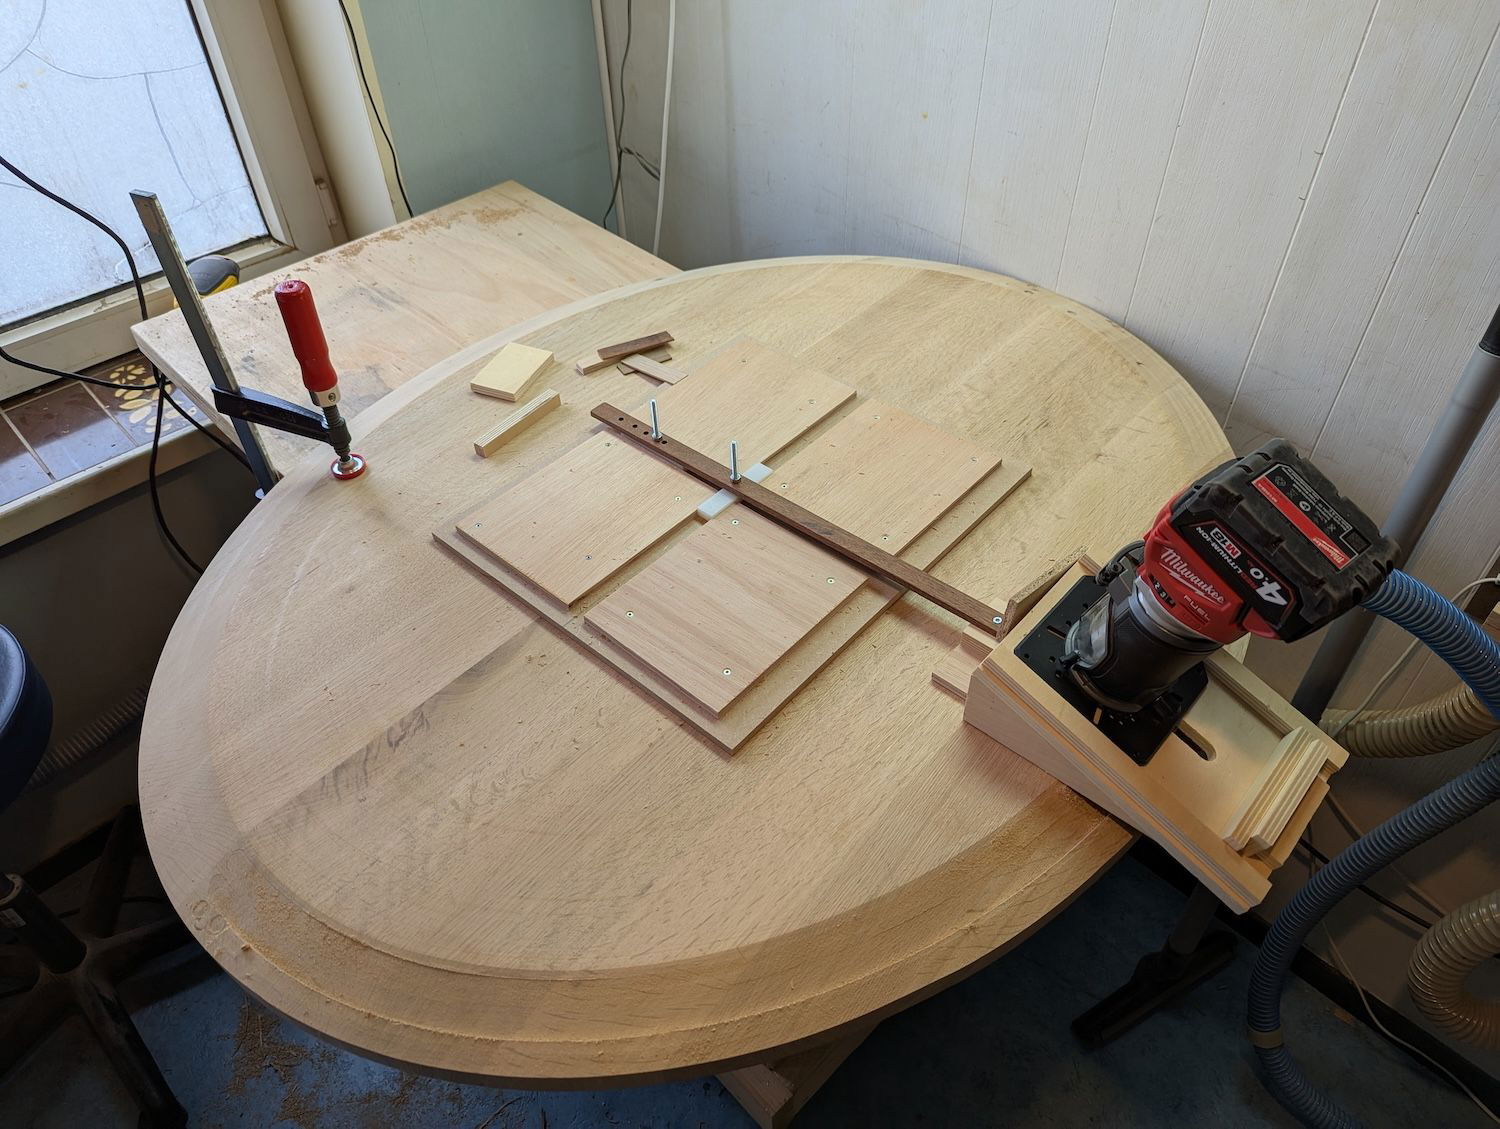
In any case, i wanted to keep the oval shape of the table so I built an oval tracing jig that would allow my router to create the oval shape. This was basically an Ellipsograph that i built based on the trammel of Archimedes. I had never done this before so it was all unknown territory from here on out.

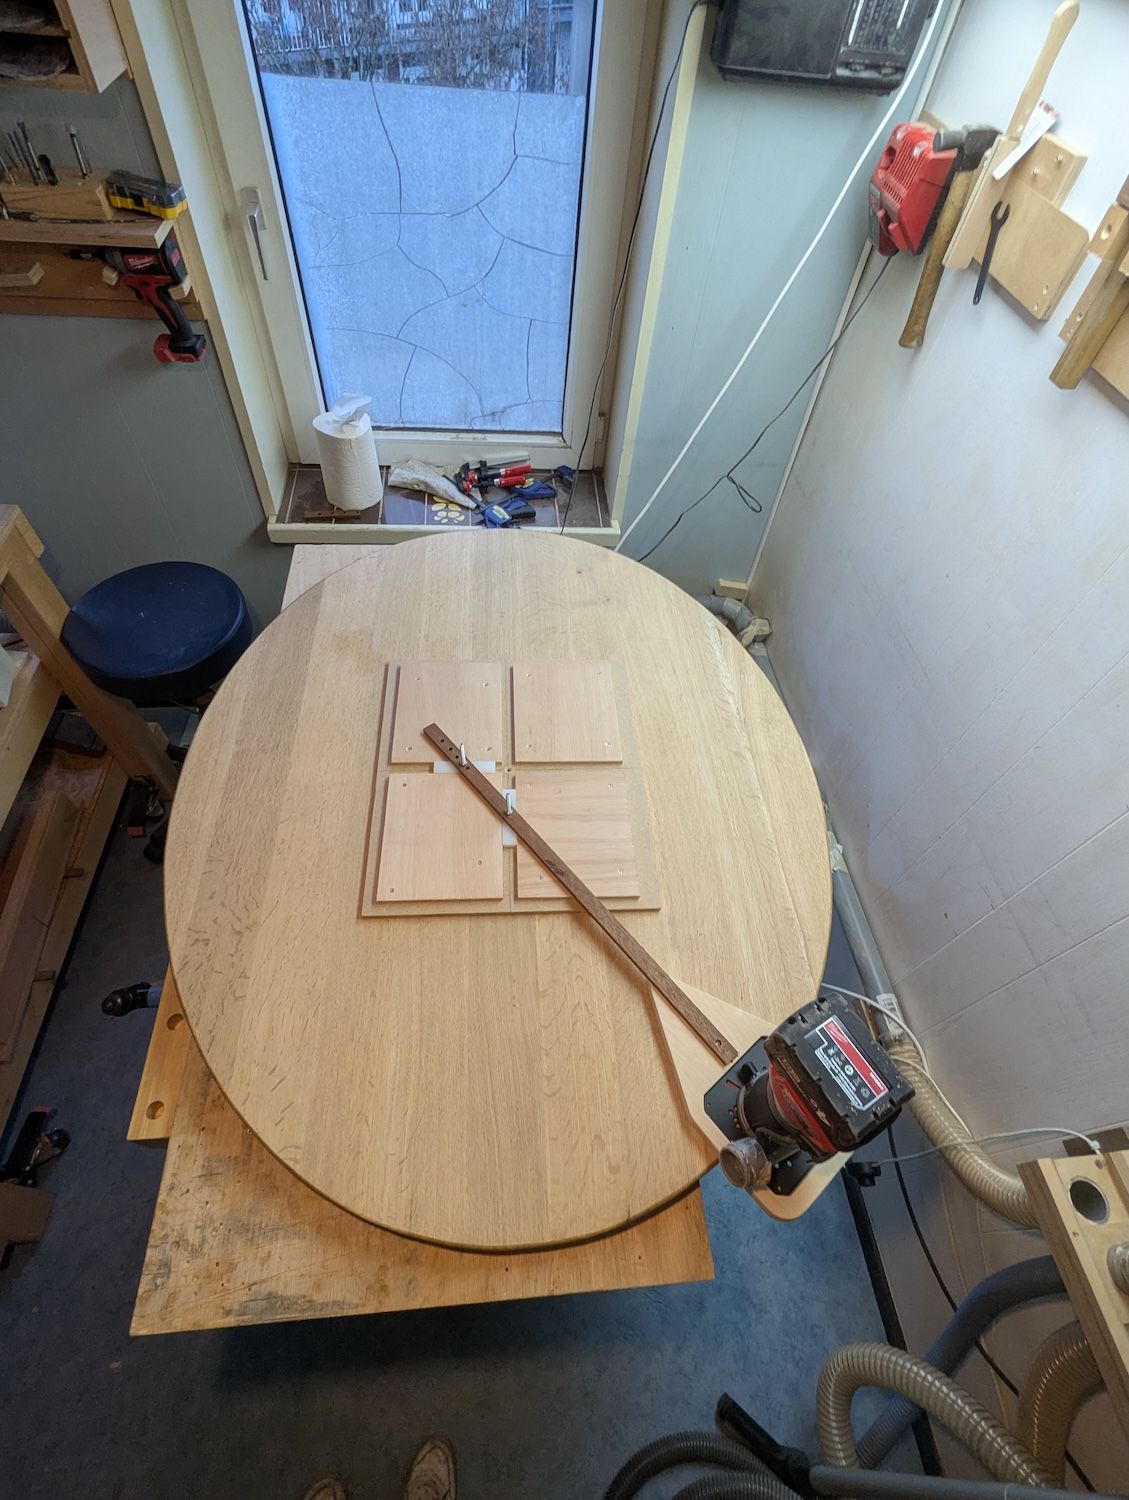

Was quite pleased with the result. It wasn’t perfect but quite close! There was a little bit of play in the oval jig that made the router jump every now and then. Tip for next time: make sure the runners in the jig get held down and use a sturdier arm.
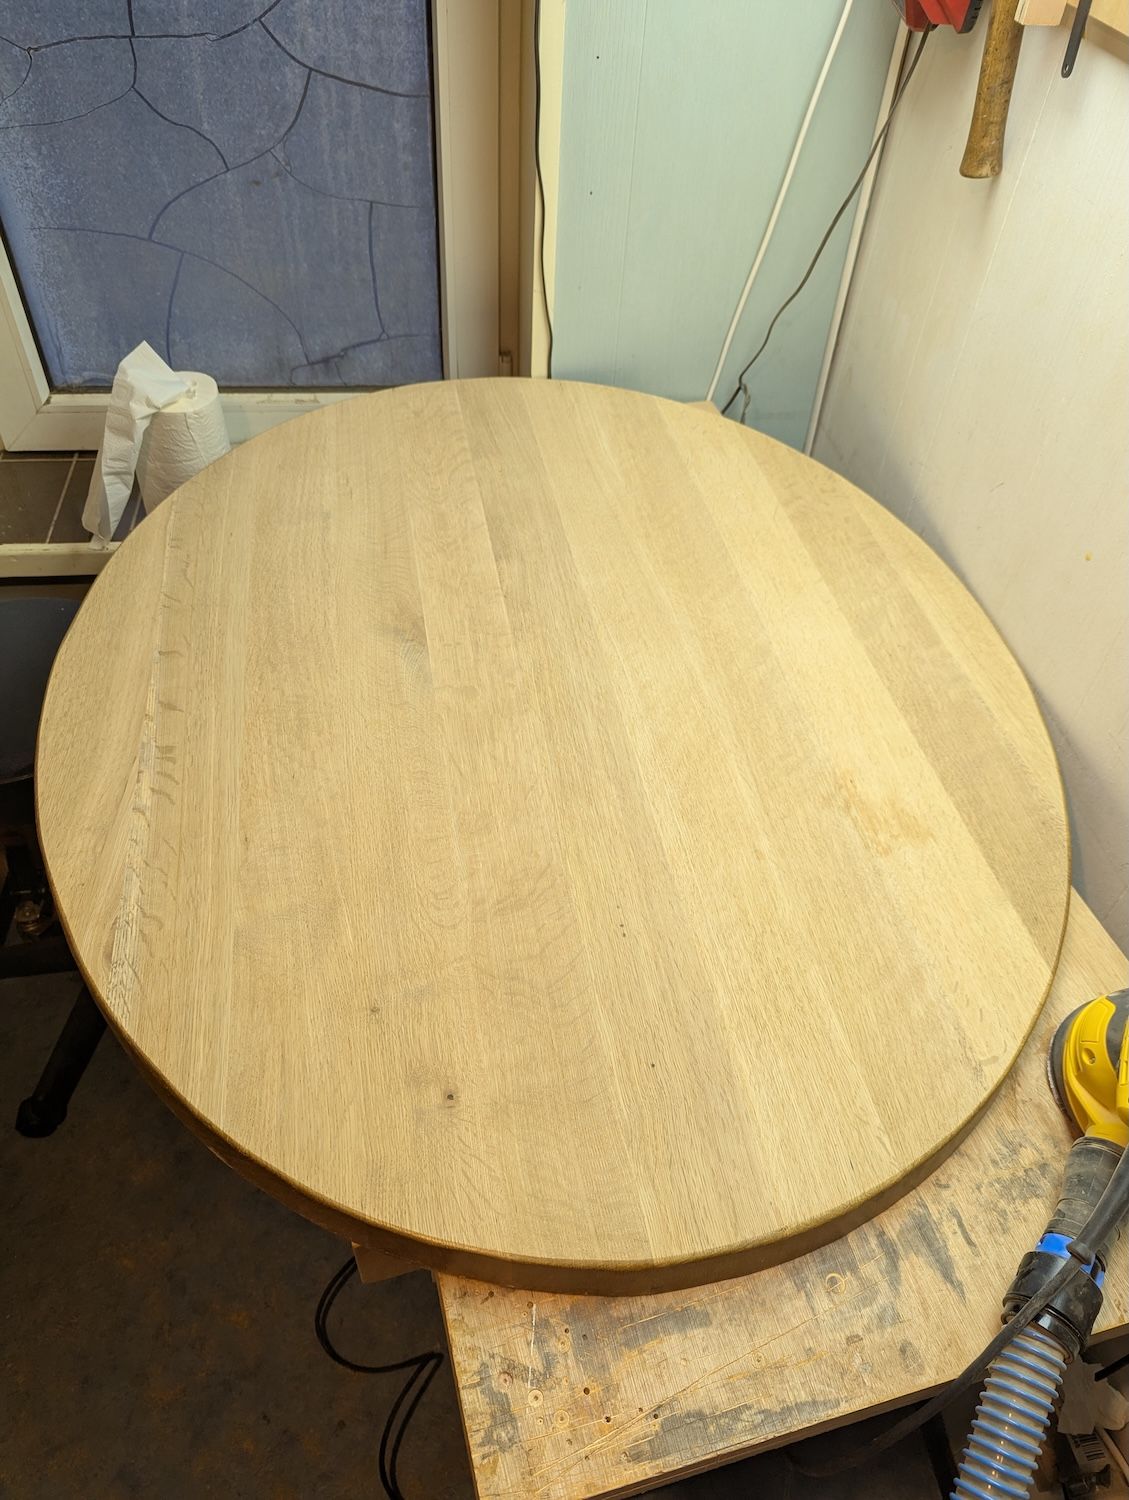
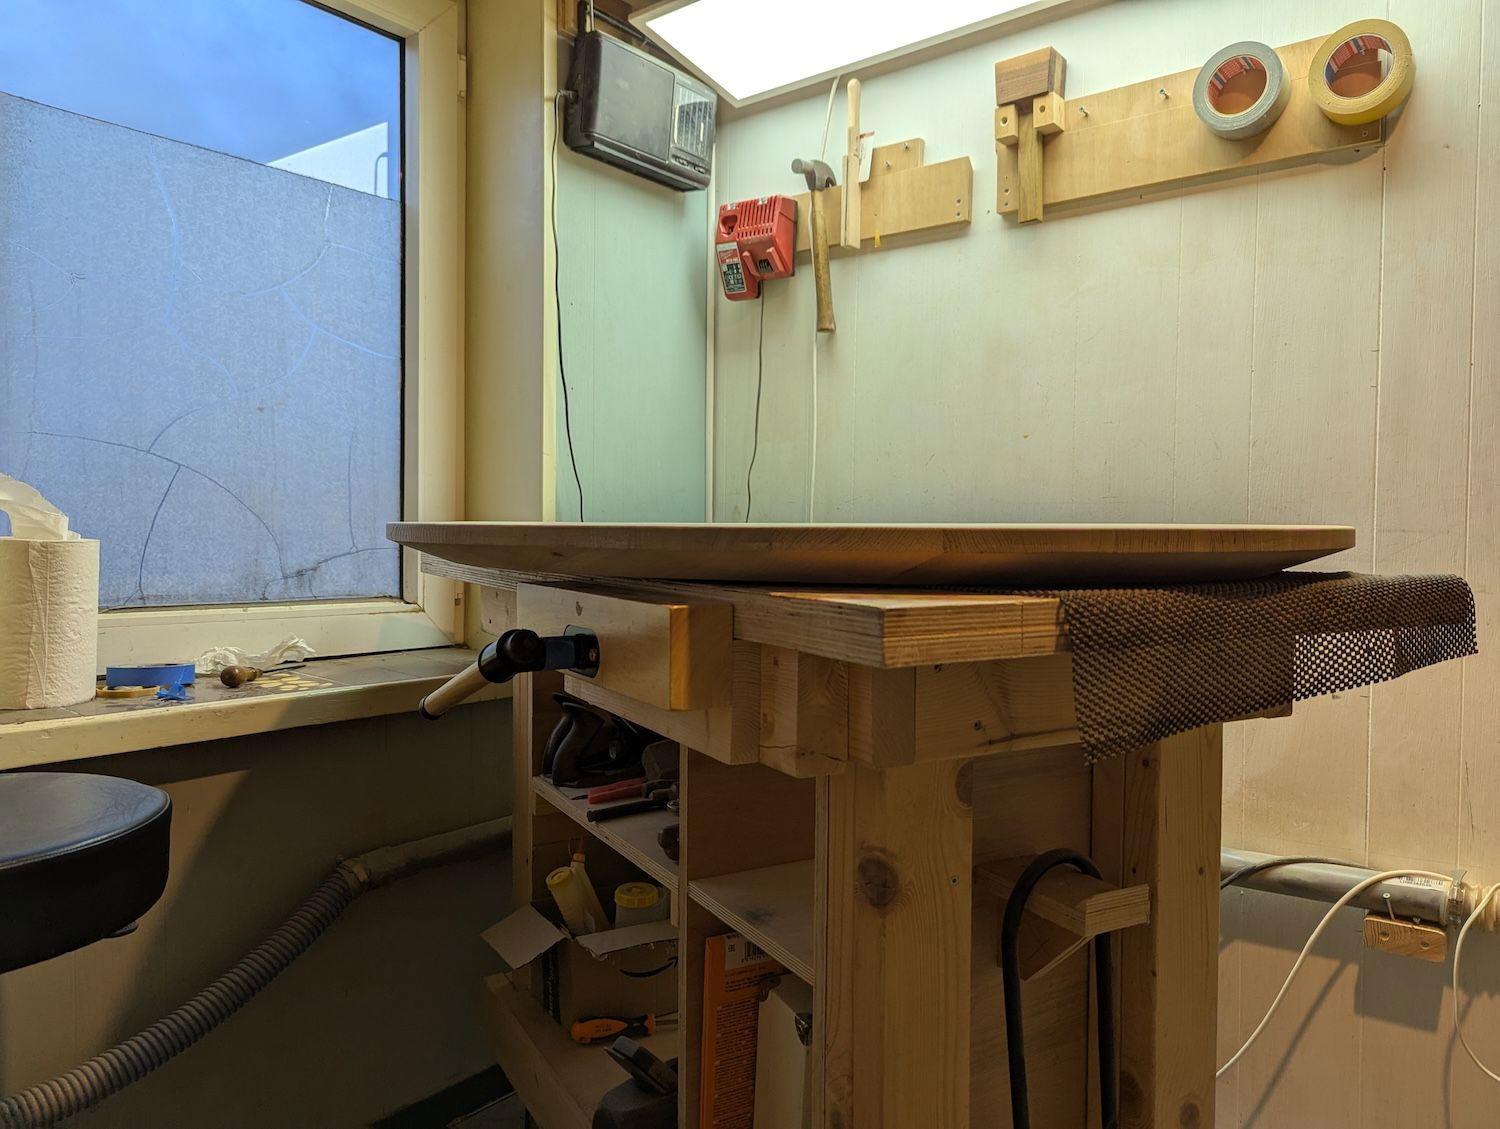
And then I sanded the bottom. I didn’t finalise full sanding here as i was going to take the edges off after but i wanted to get most of the old finish off so I had a nice fresh flat surface to work with.
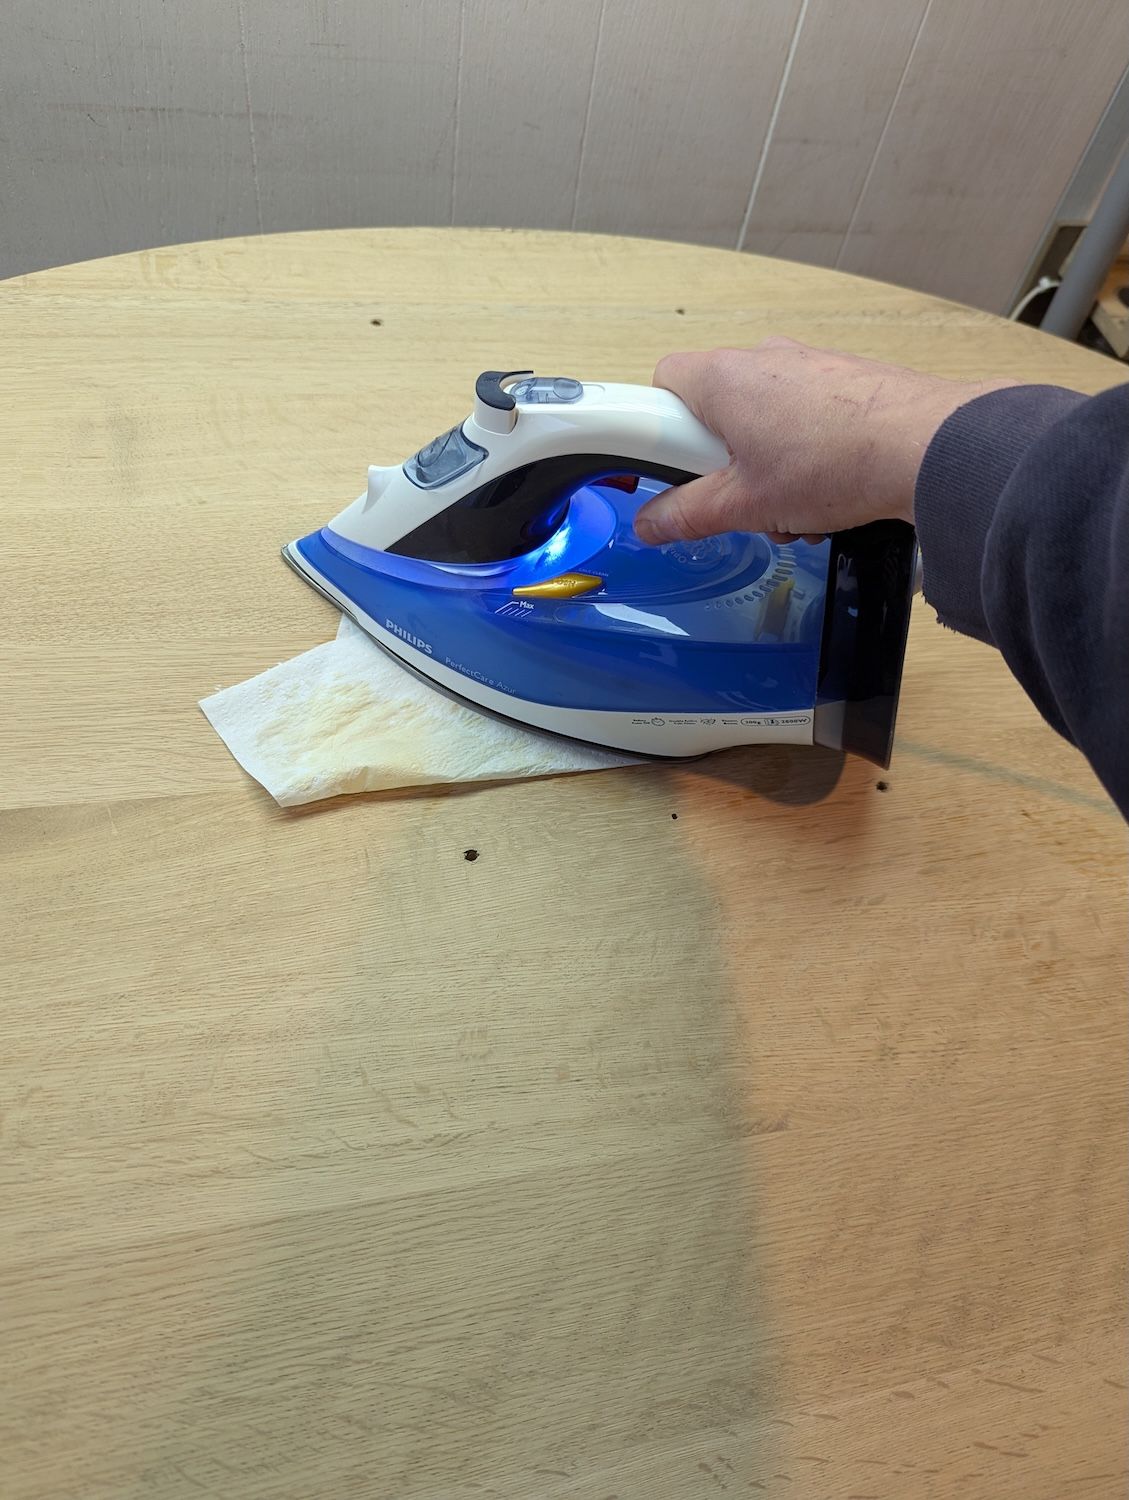
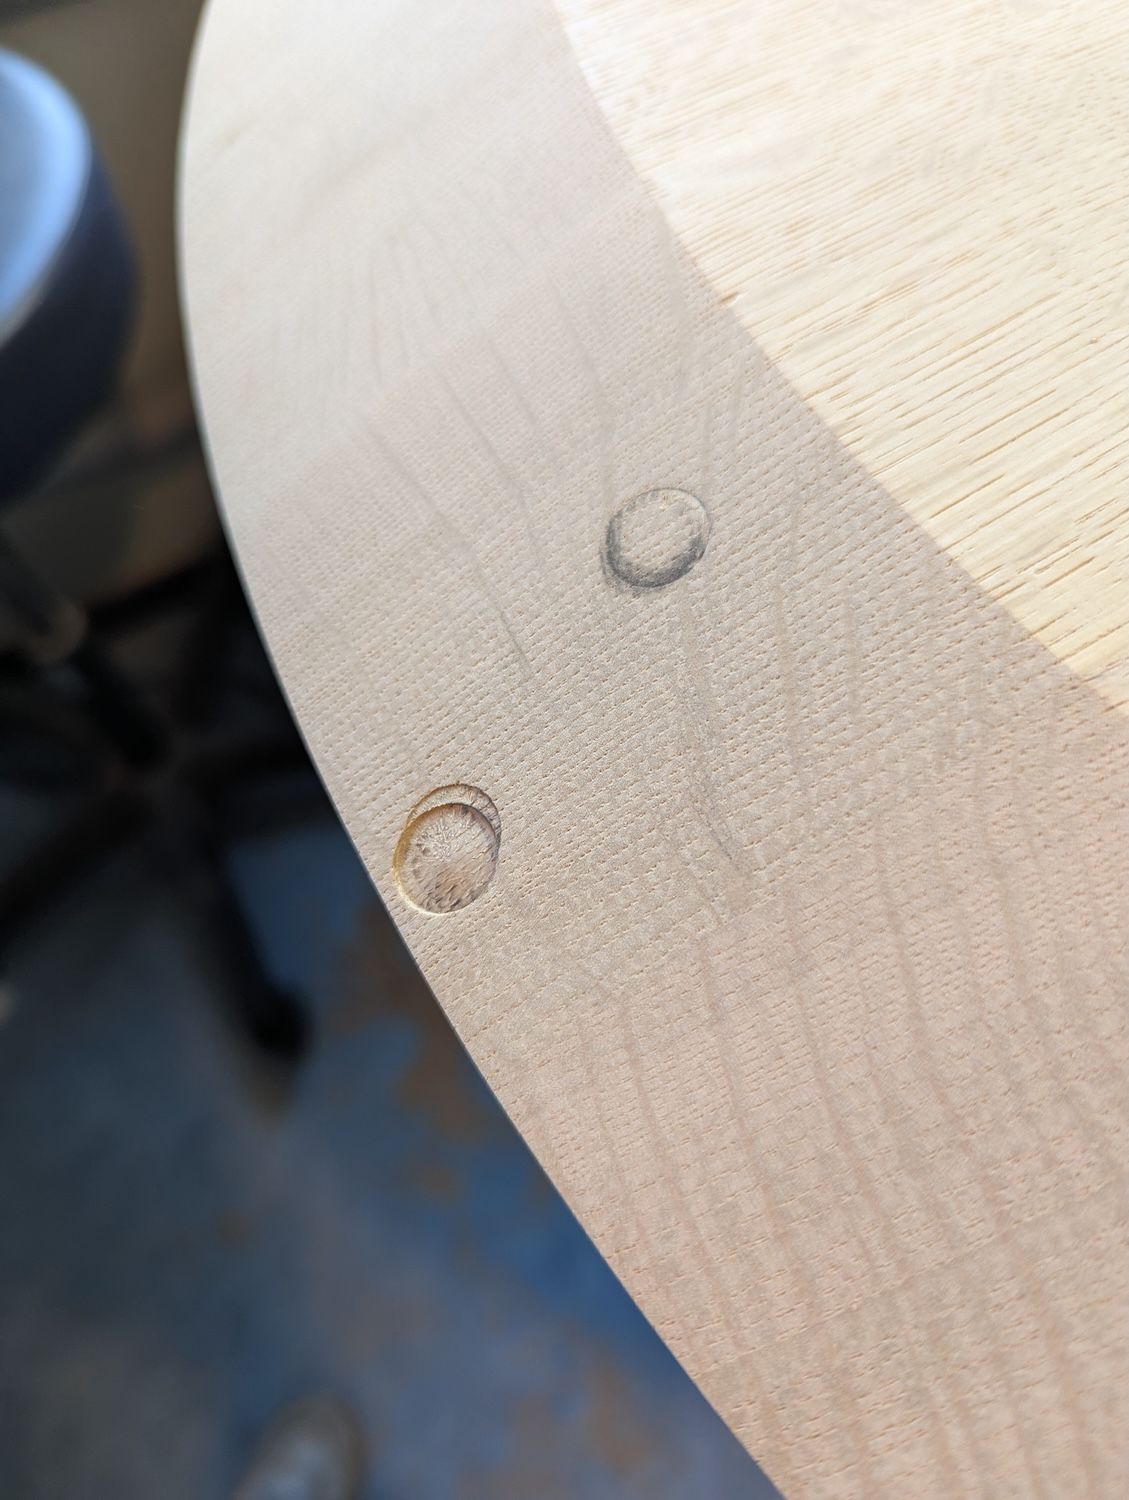
I also found some scarring on the bottom; not sure how that got there but there were some tiny dents. I got some damp paper towel, ironed that spot and sanded a little bit. Got most of the dents out!
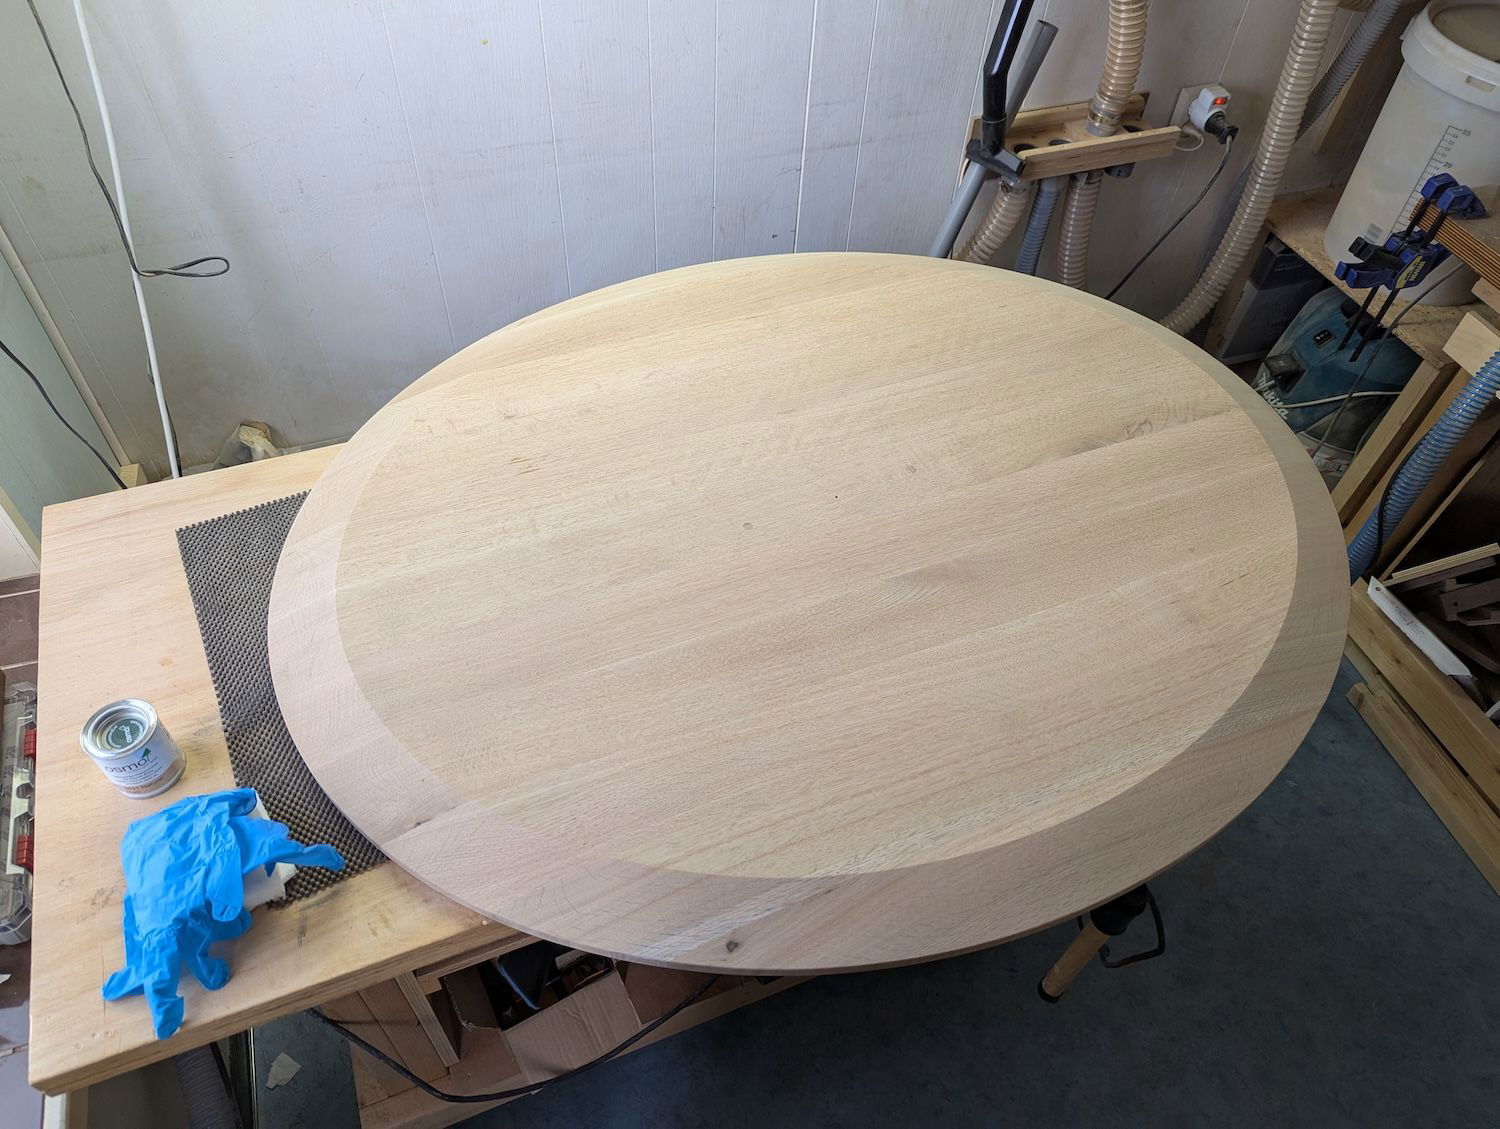
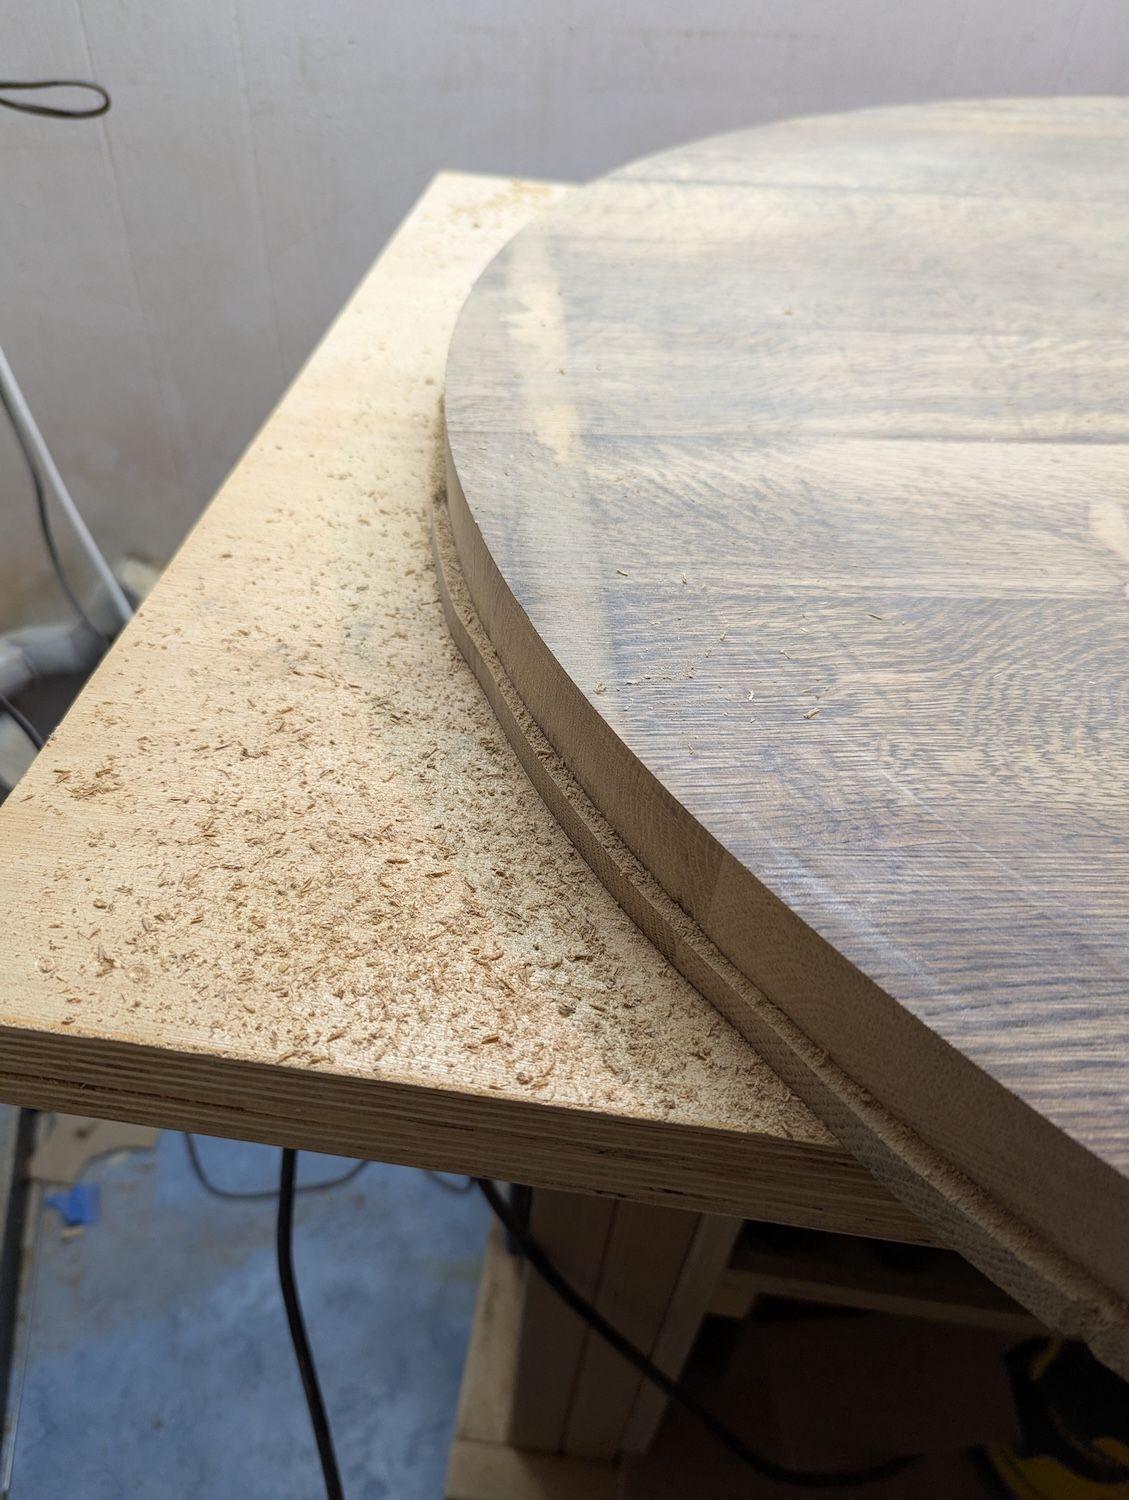
Alright, so now it’s time for something I had never done before, again. As i wanted the table to seem visually a little bit less robust, i wanted a shallow chamfer on the edge which would make the table look optically smaller while keeping the sturdiness of the 4cm table.
I built another jig that would hold the router at about 20-25 degrees. I used an upcut bit and took light passes taking off about 5mm at a time. I found that pushing the jig 1/4 of the oval around and then going back sliding the router down a bit, and doing the same 1/4 again was the best method of getting it done.

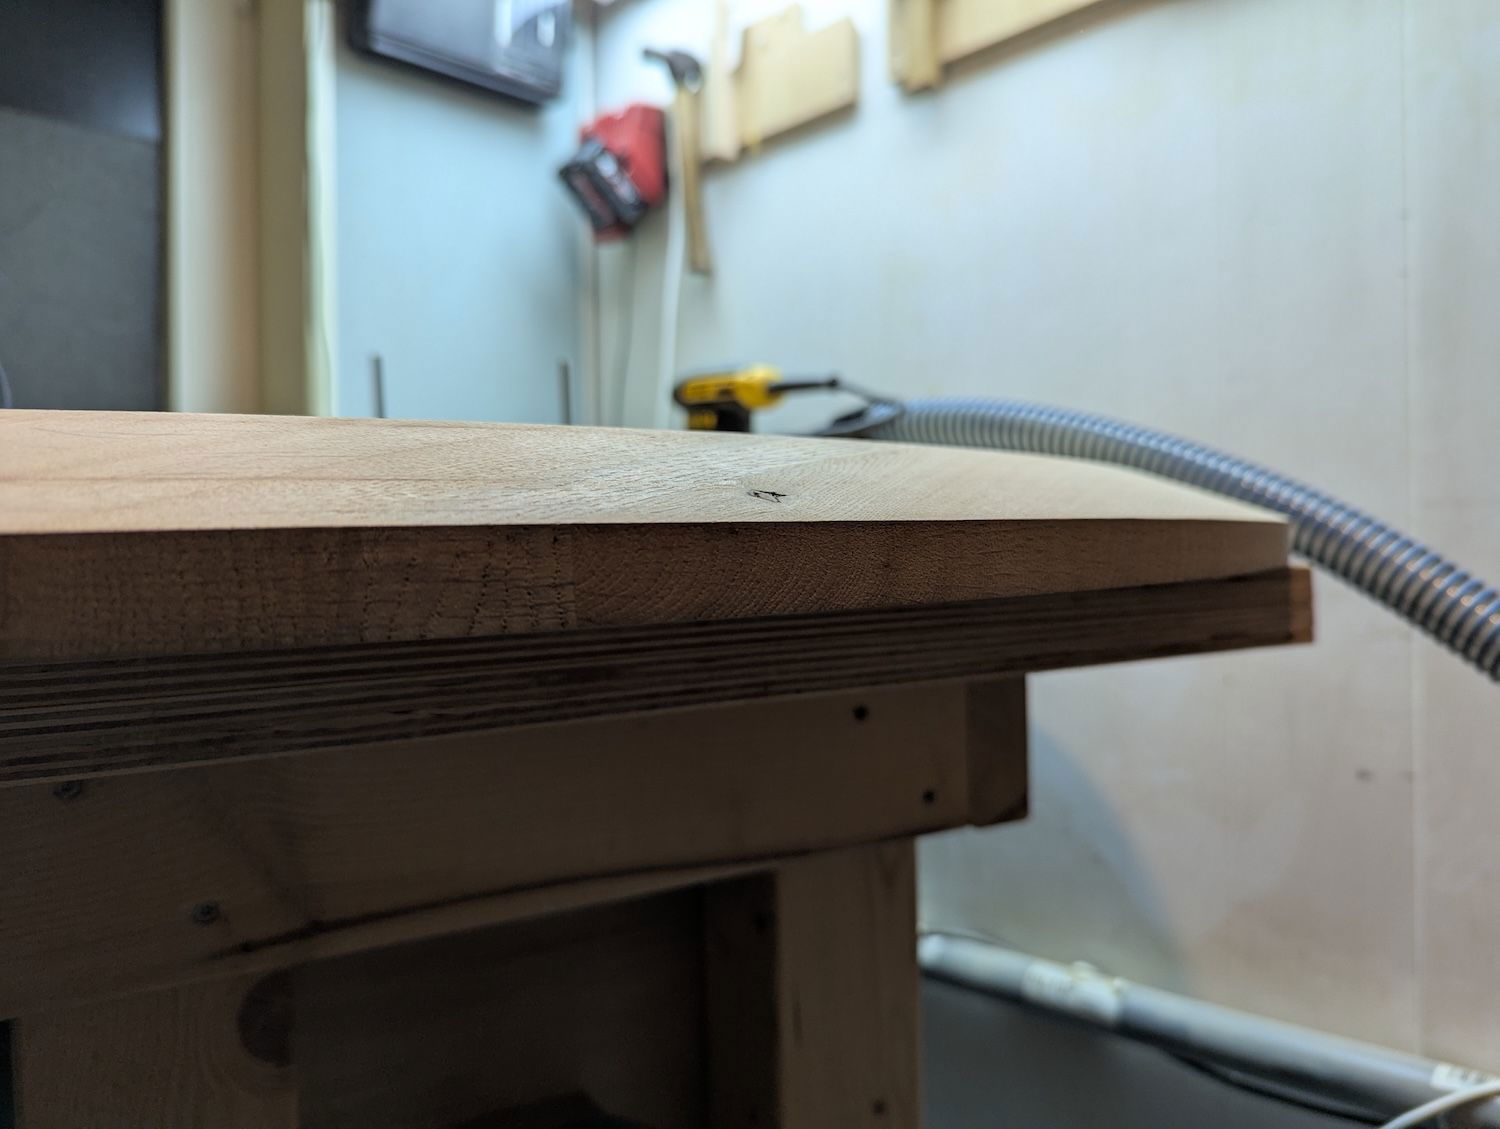
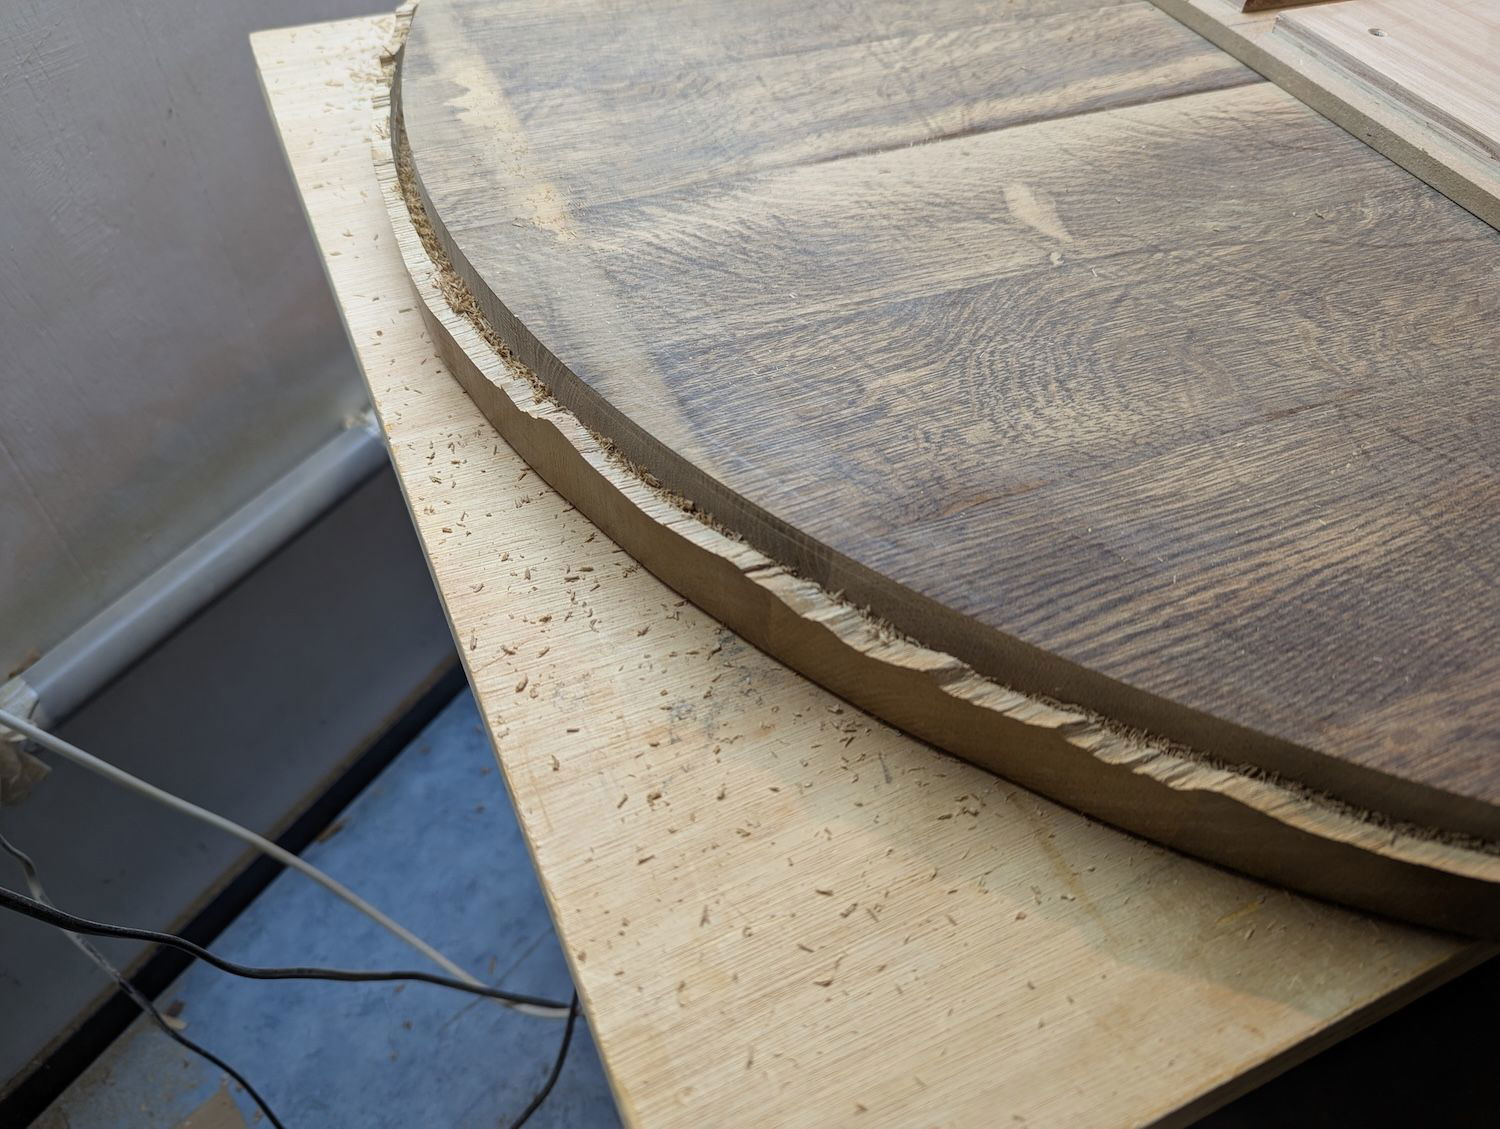
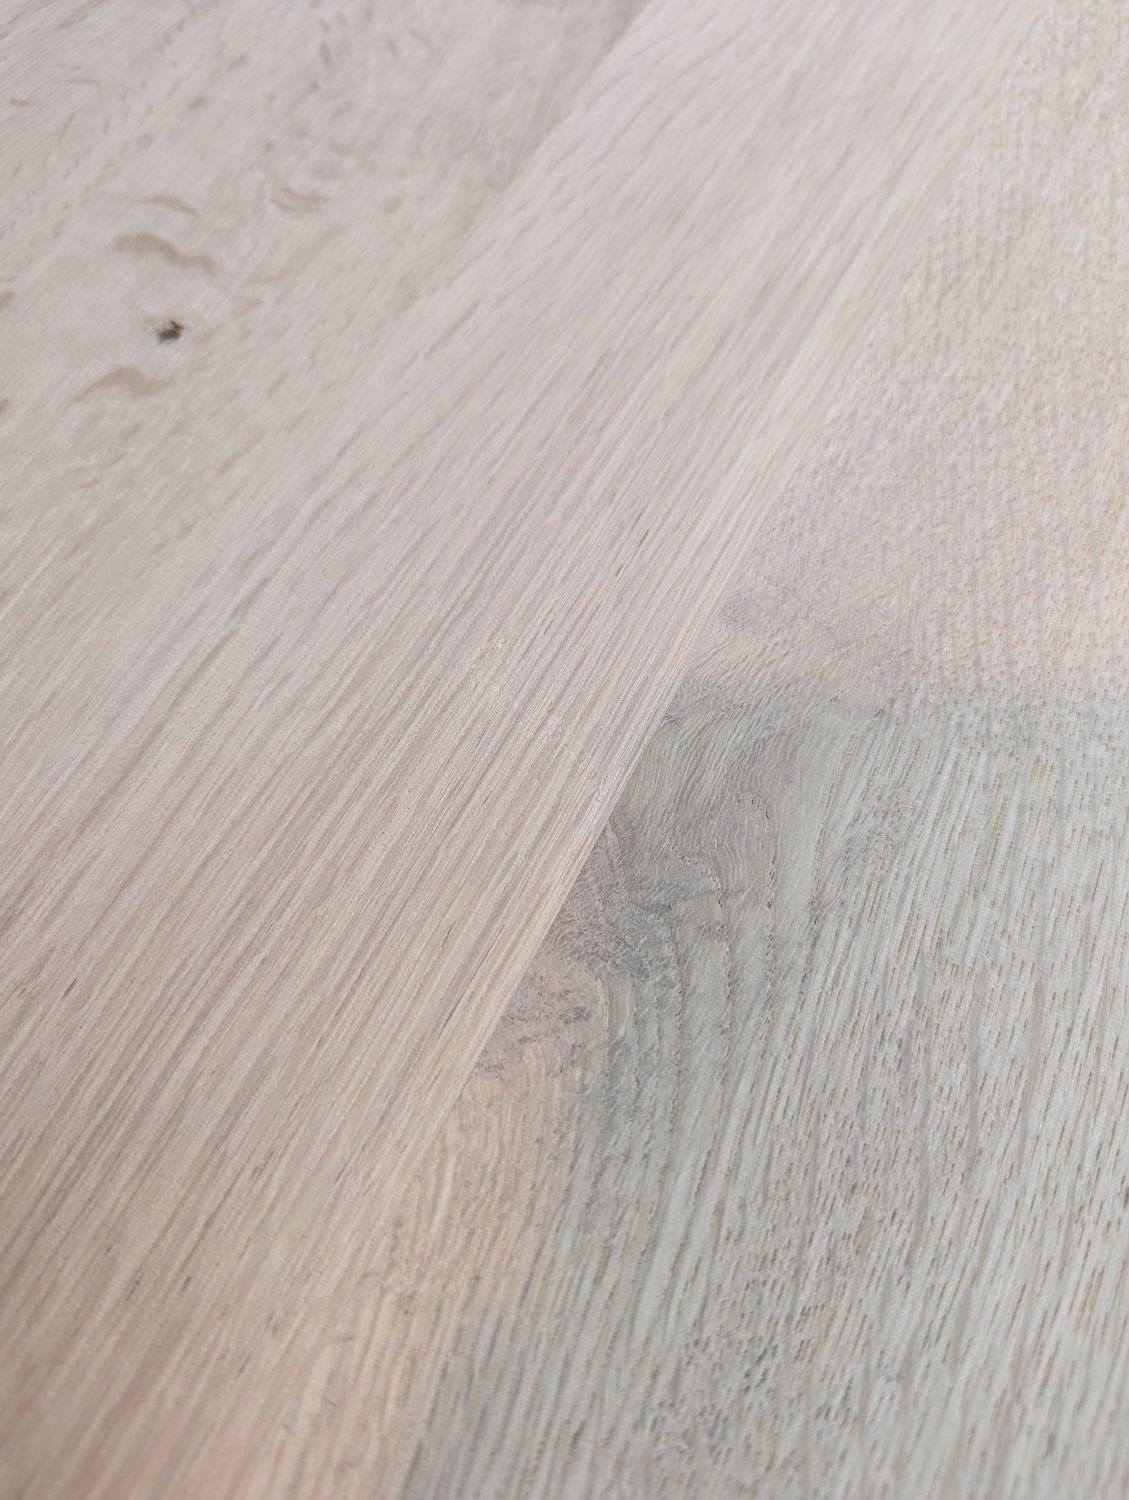
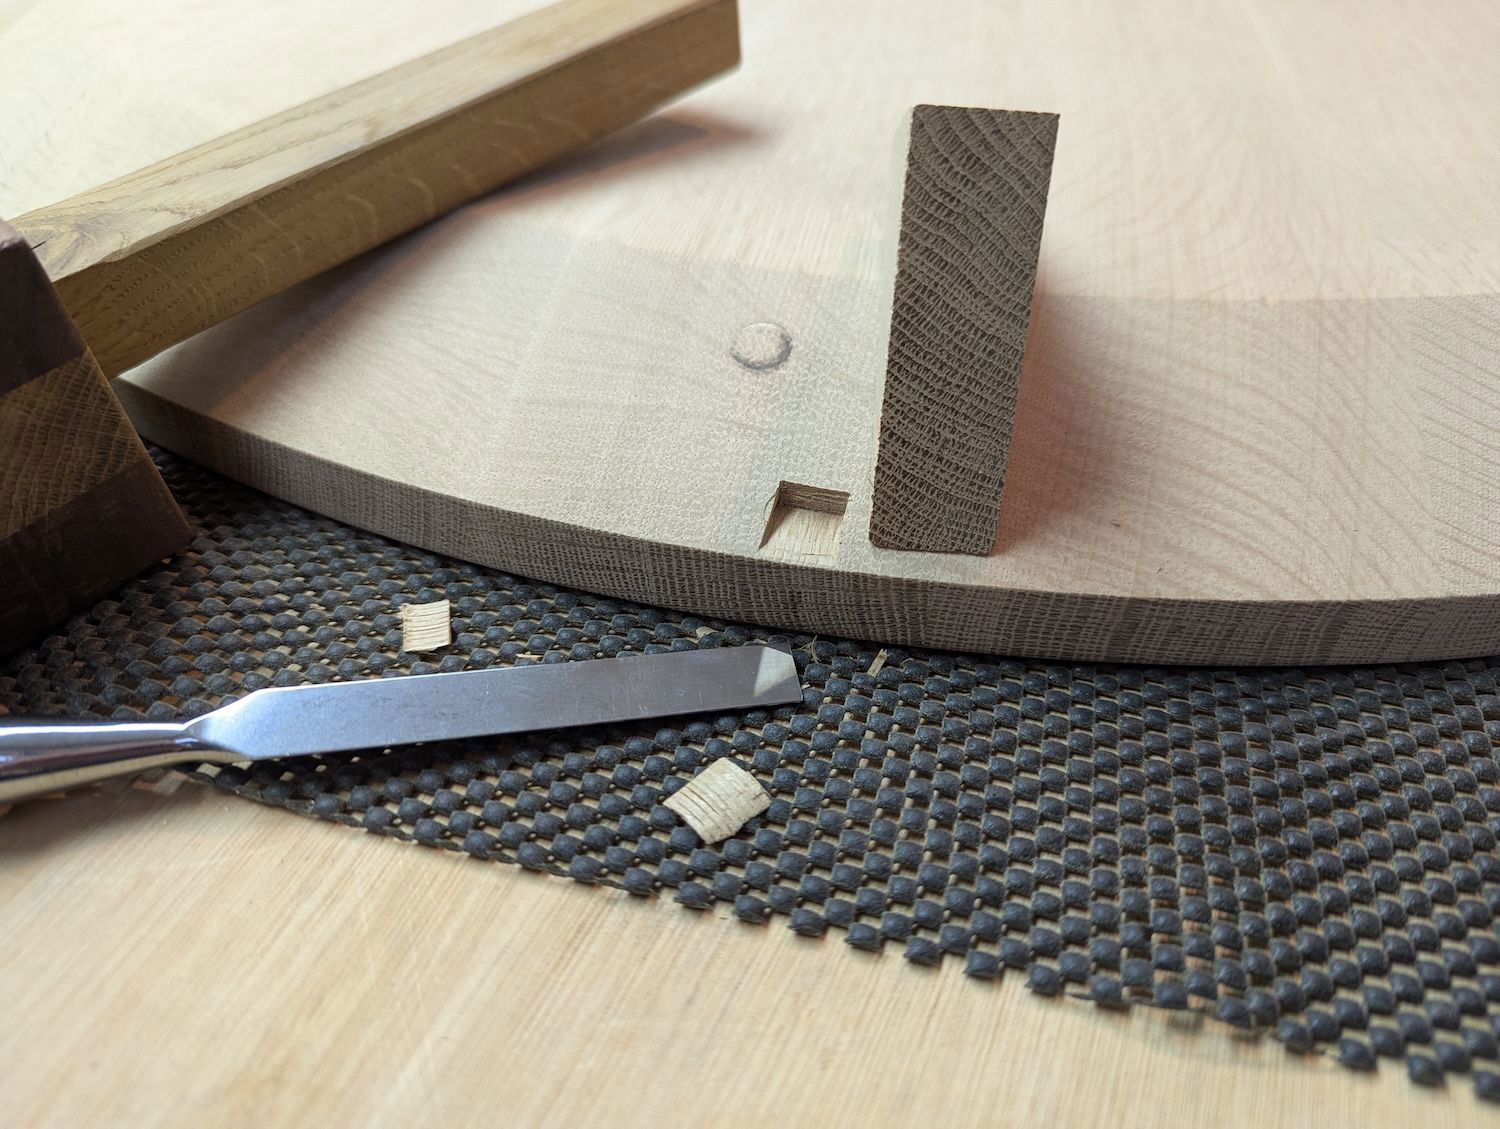
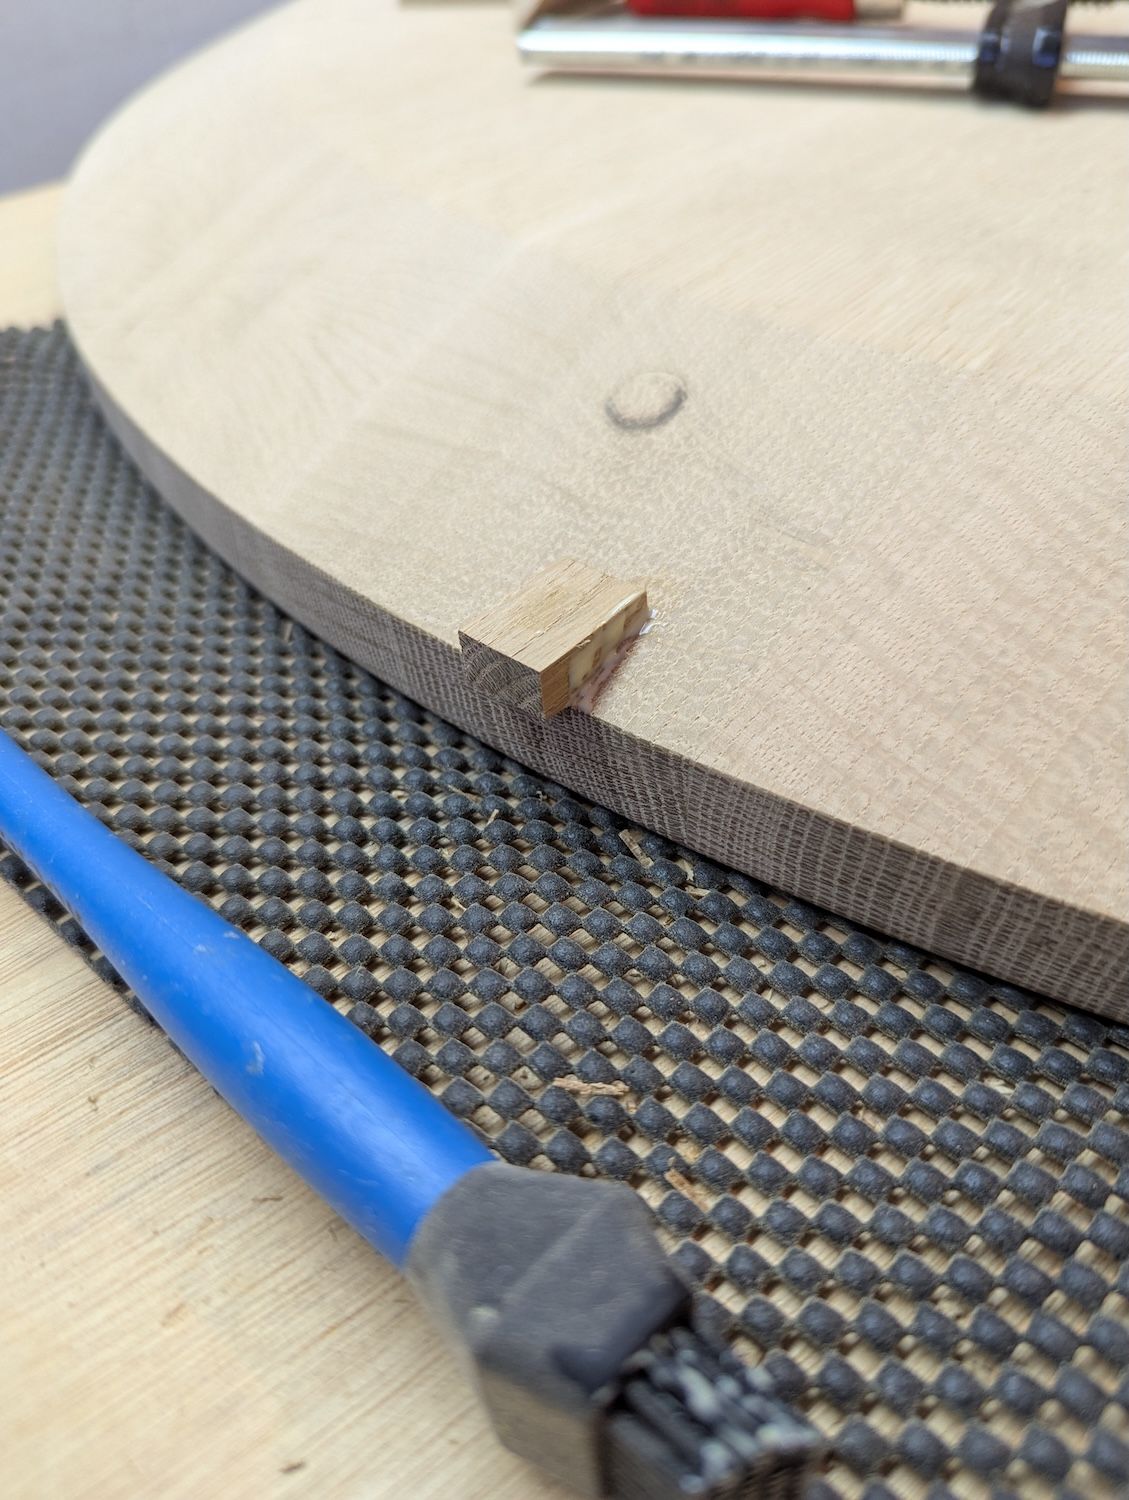
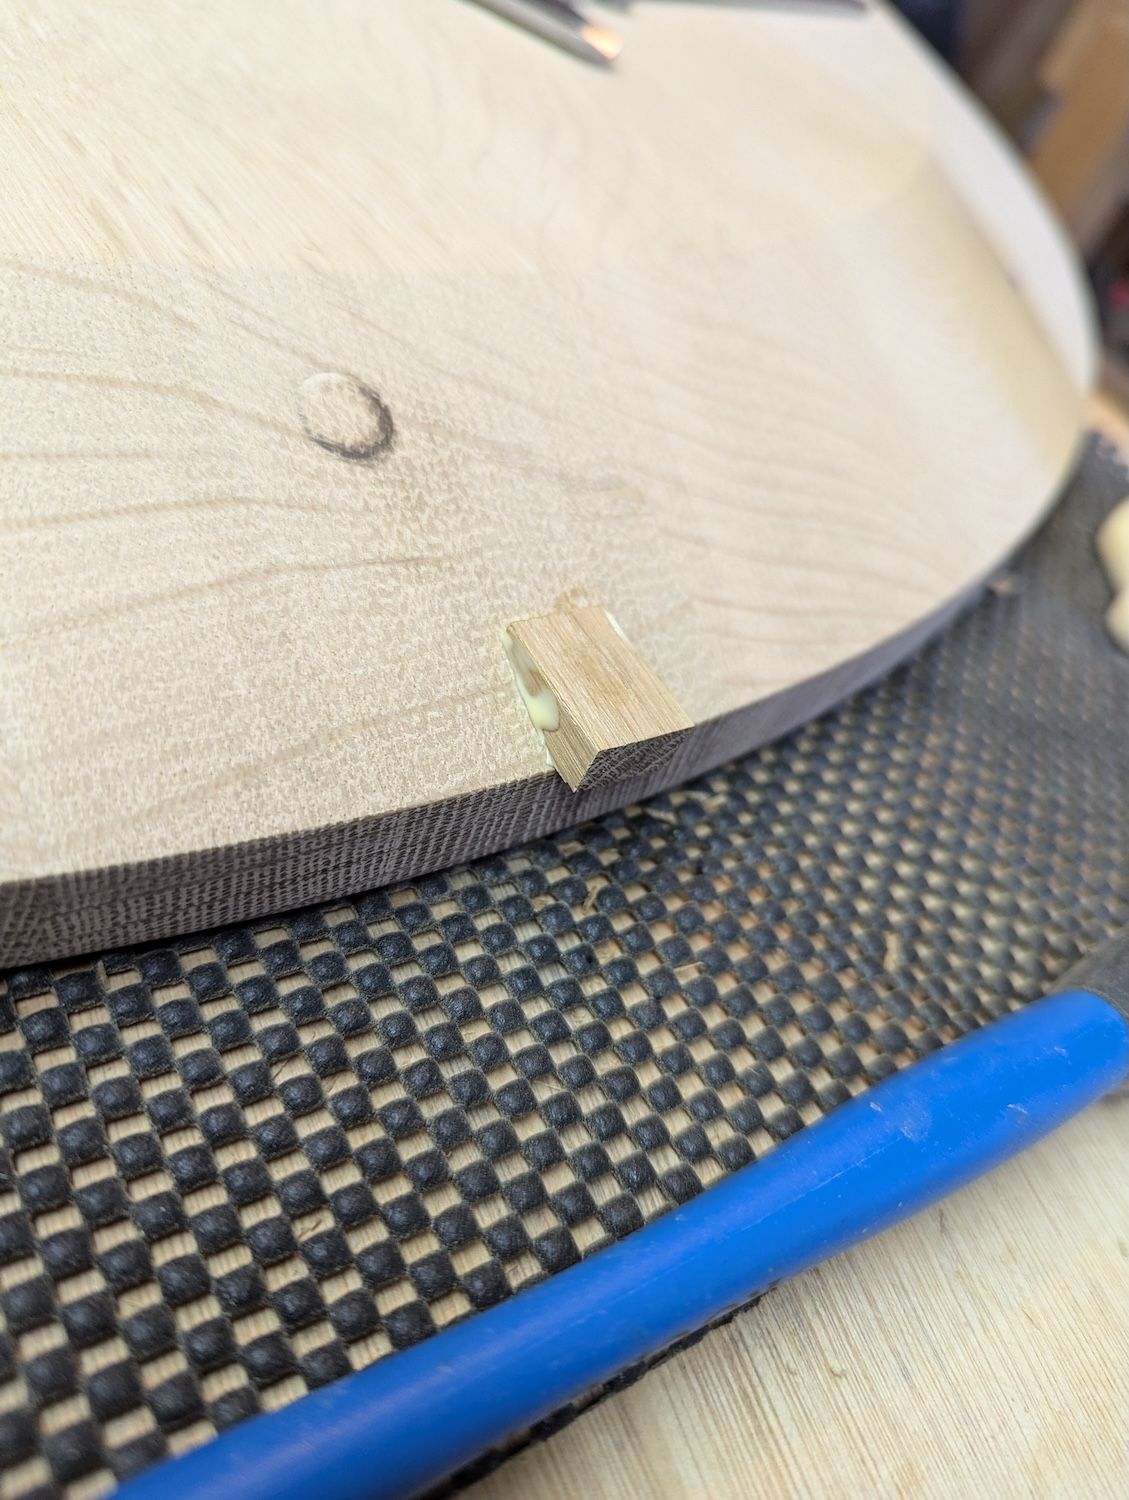
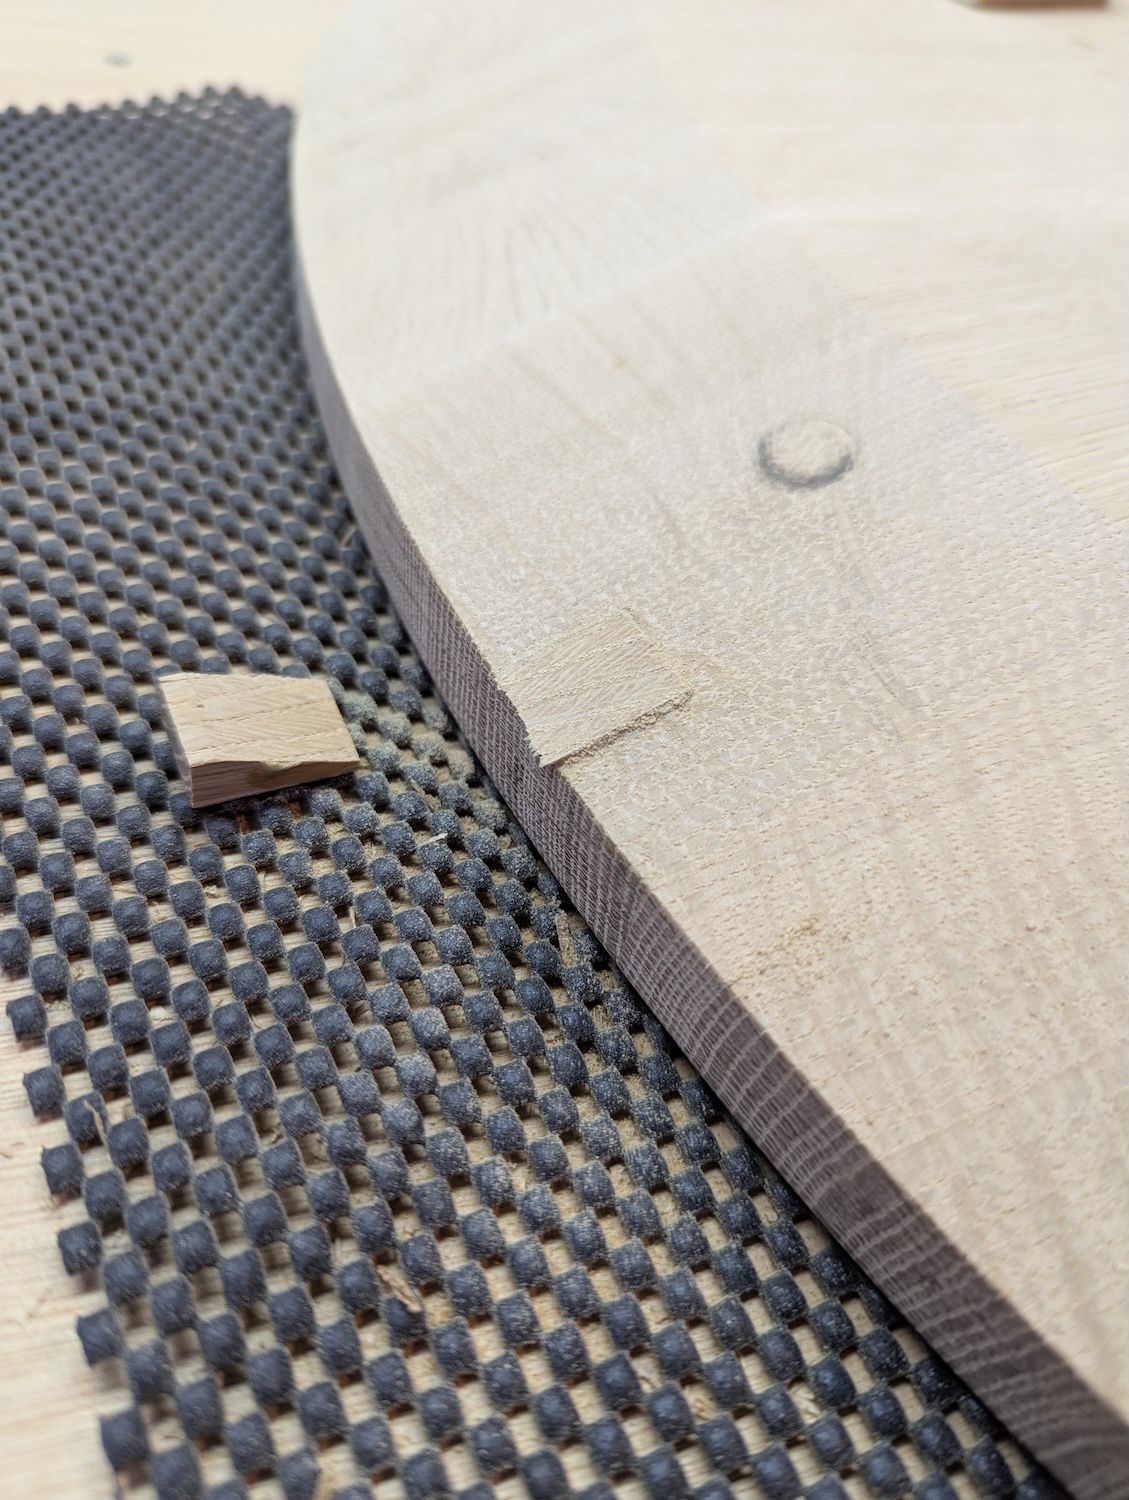
With all that I still made a happy little accident by losing grip of the router so it bit a bit out on 1 side of the table. Ultimately i couldn’t sand that much away so close to the edge so i just decided to chisel some more out and put in a new piece and try to match the grain as beest i could.
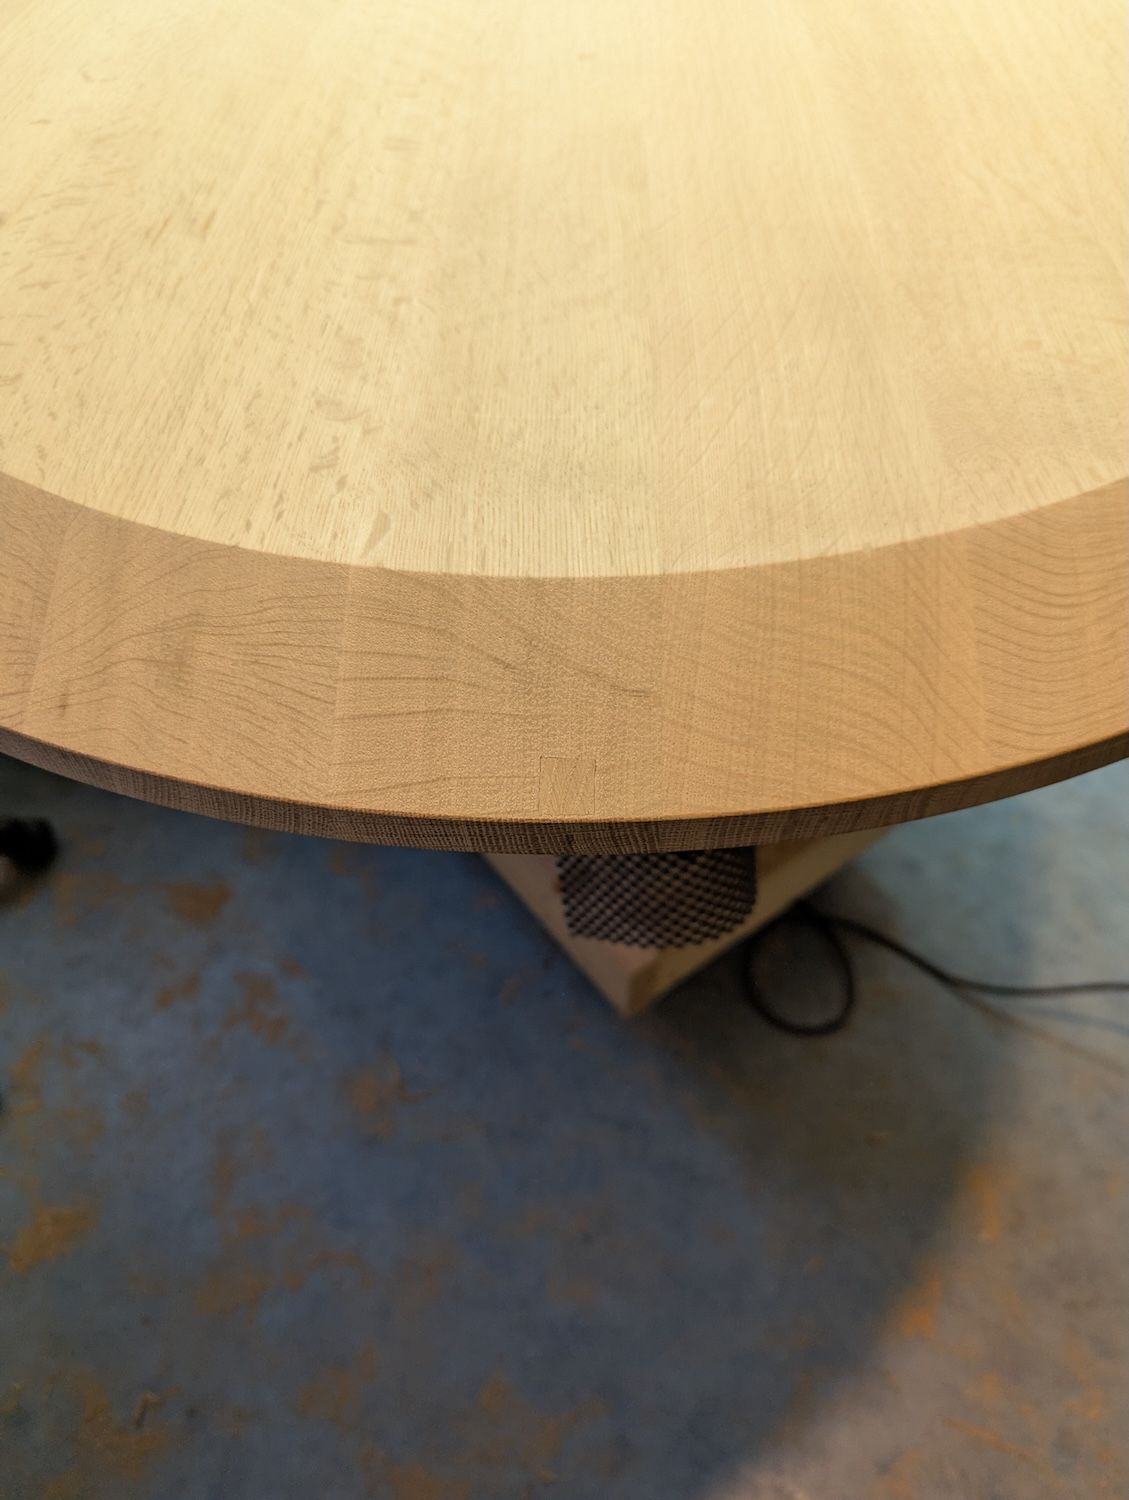
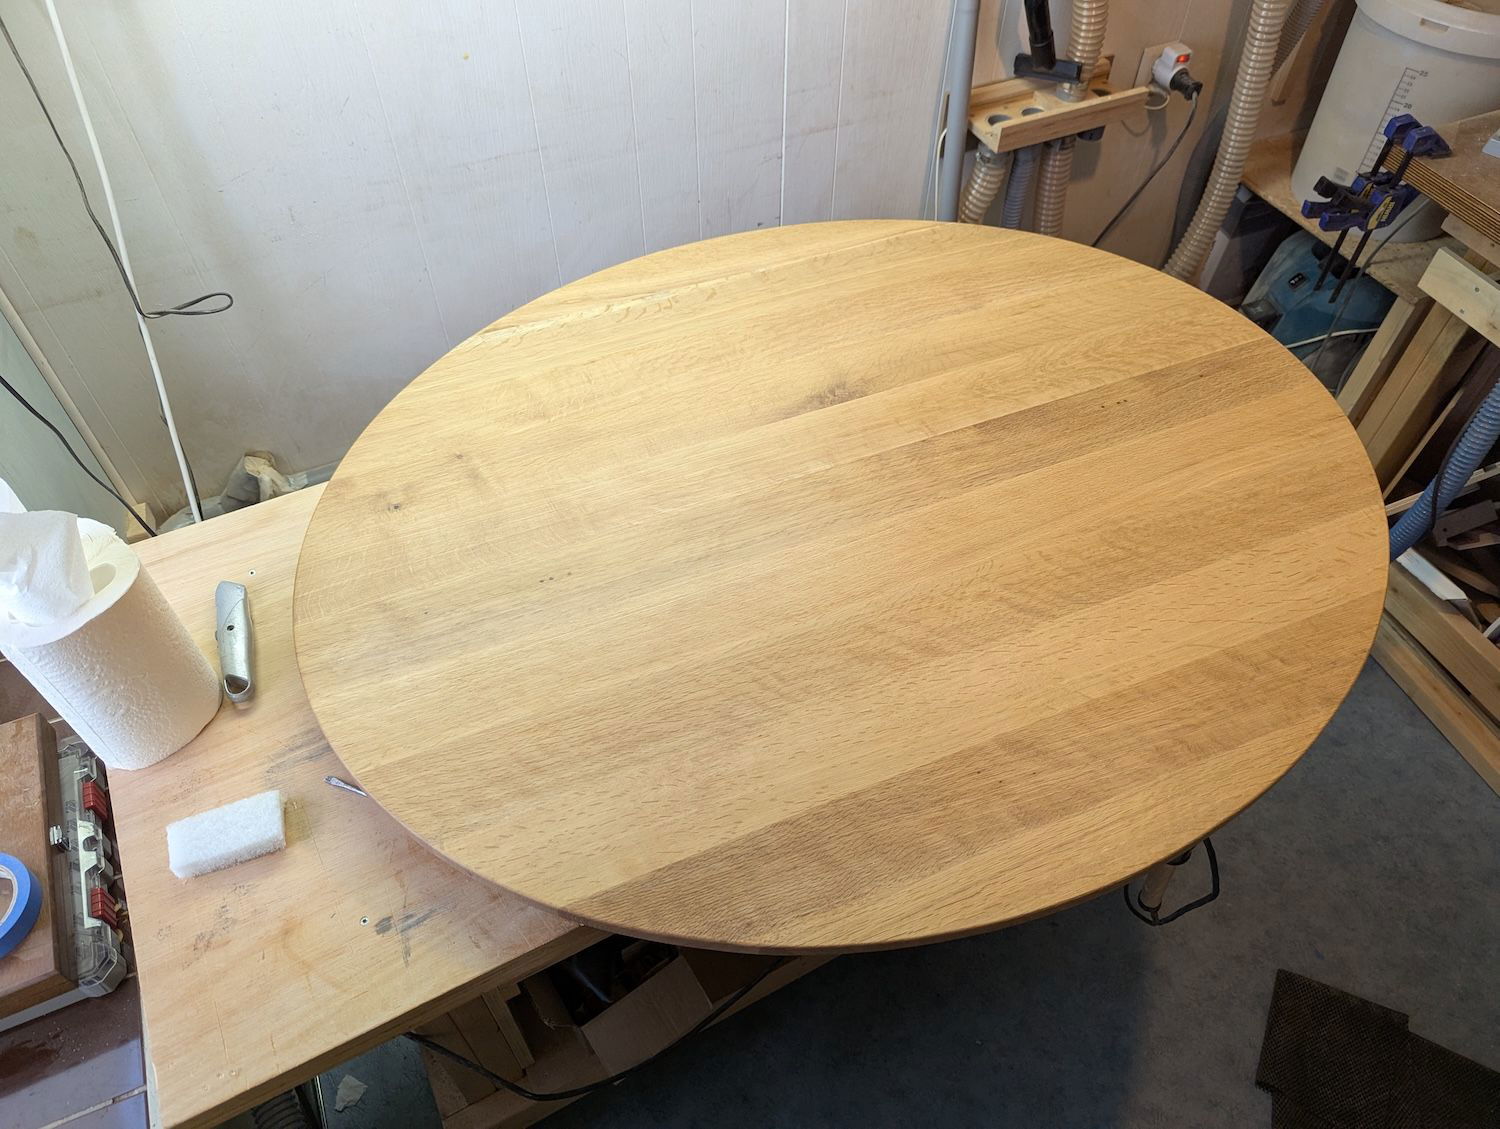
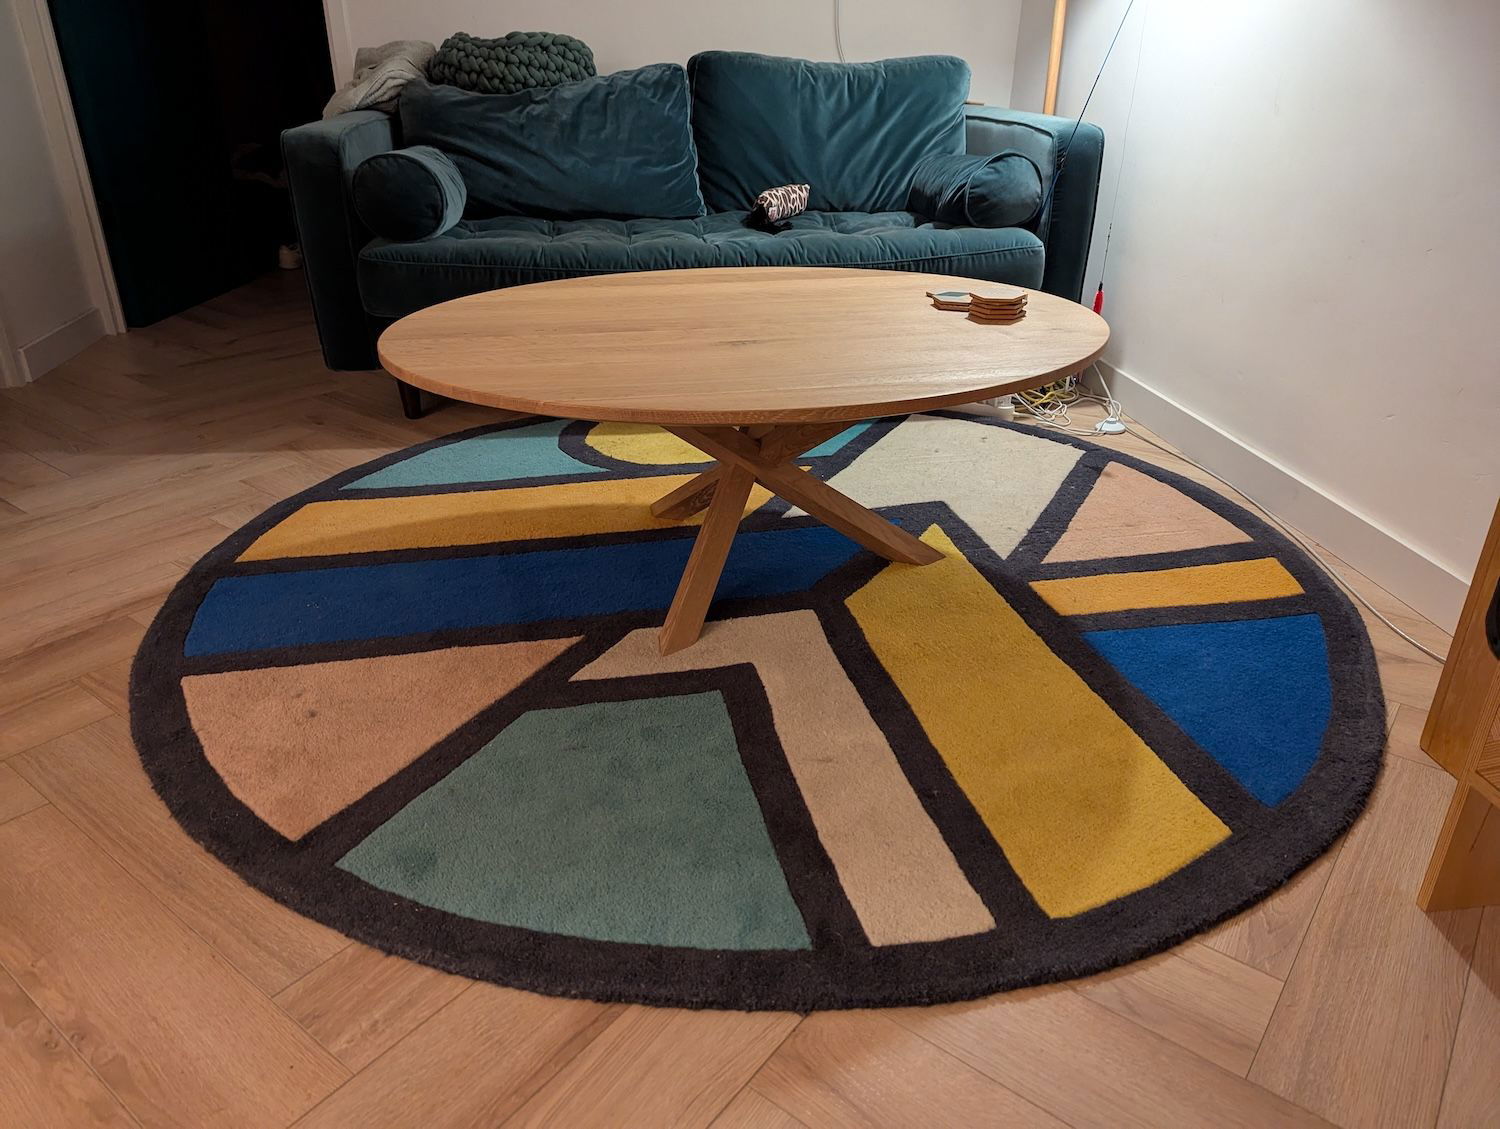
And the finished table top. I put a roundover on the top side and sanded up to 180 grit all over.

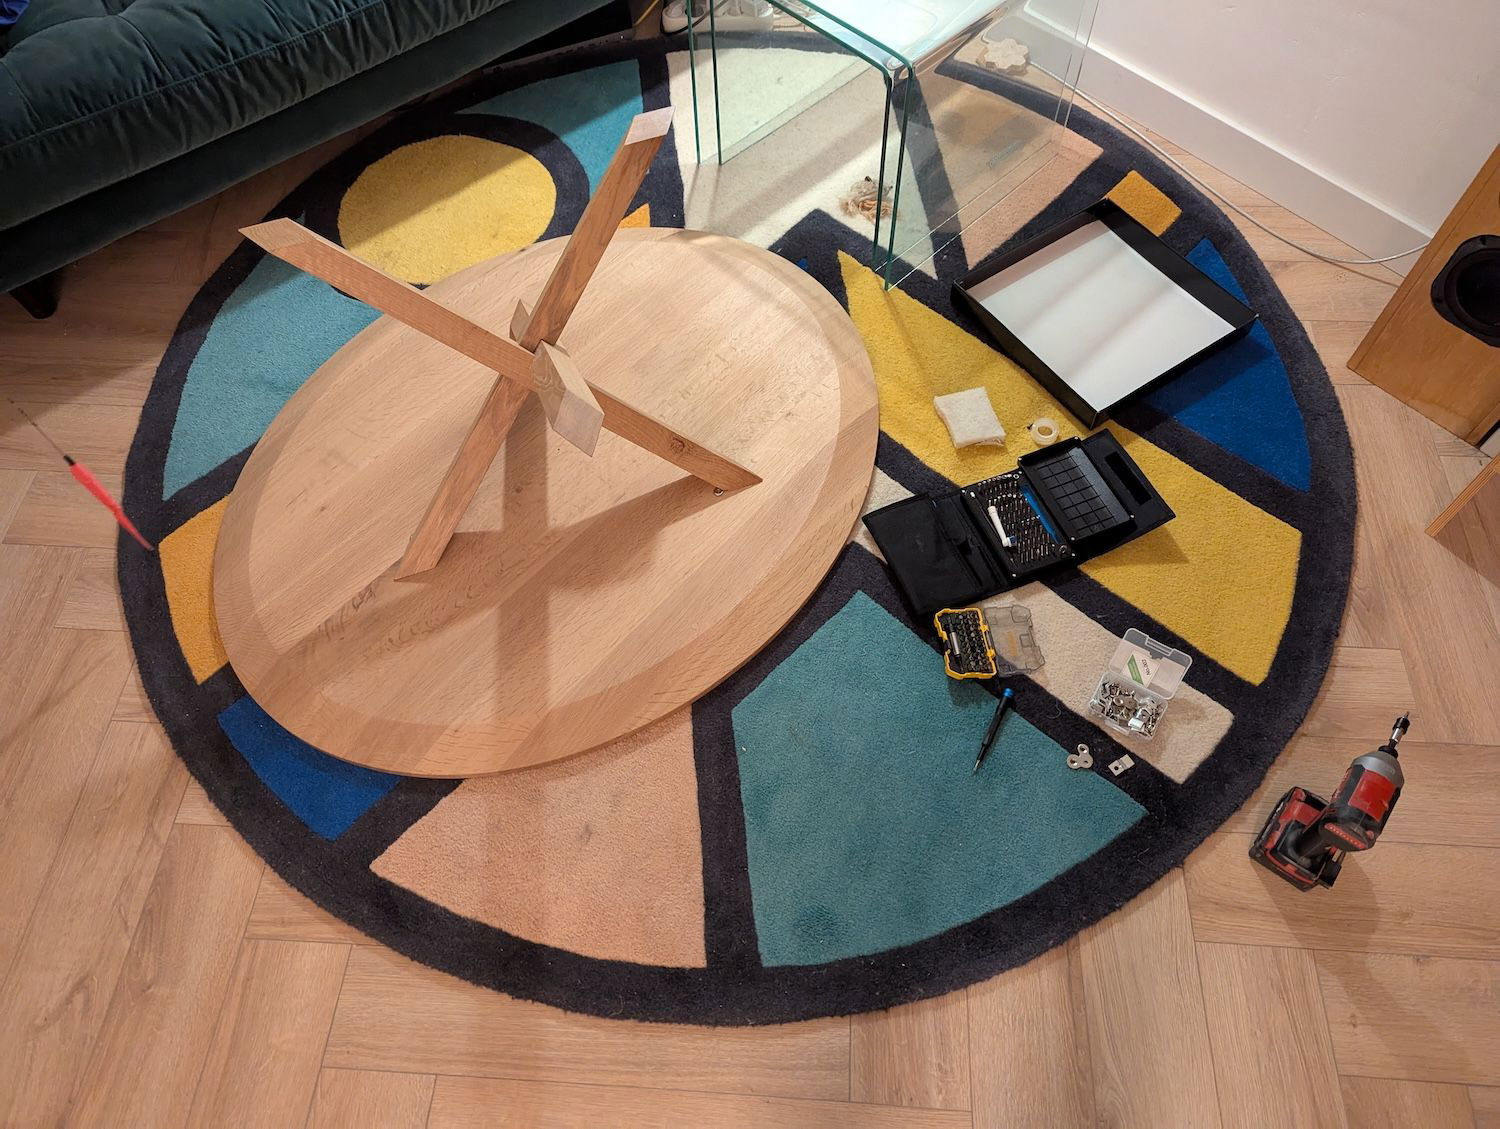
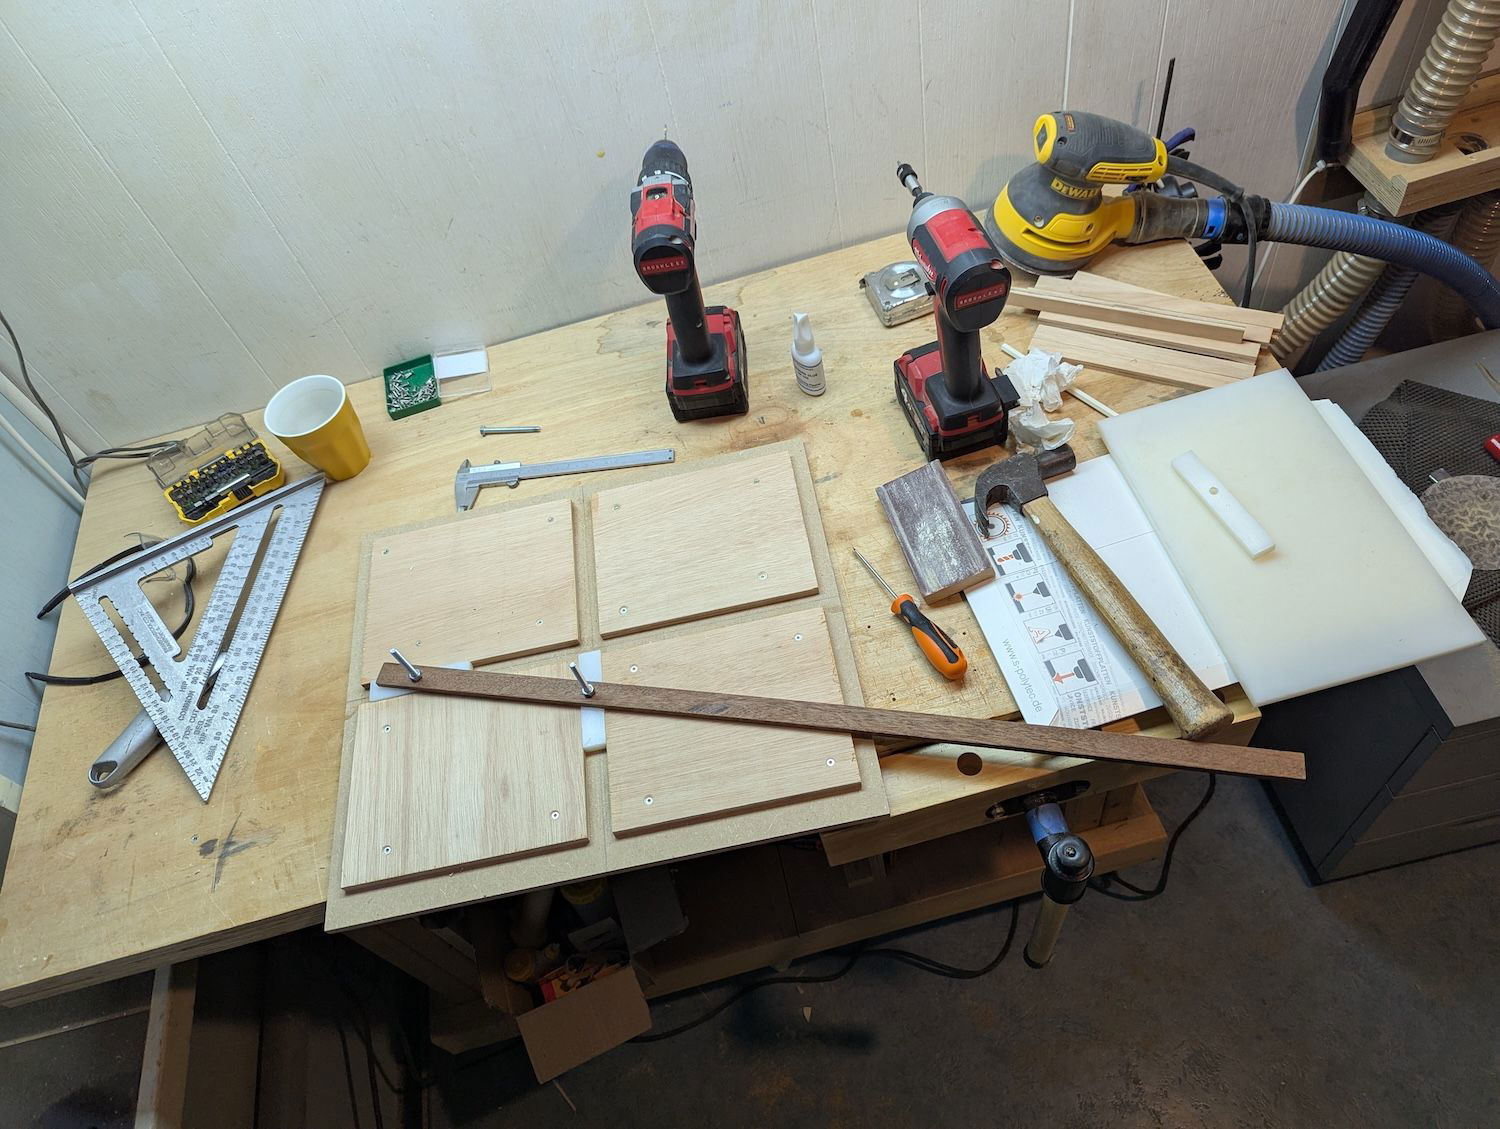
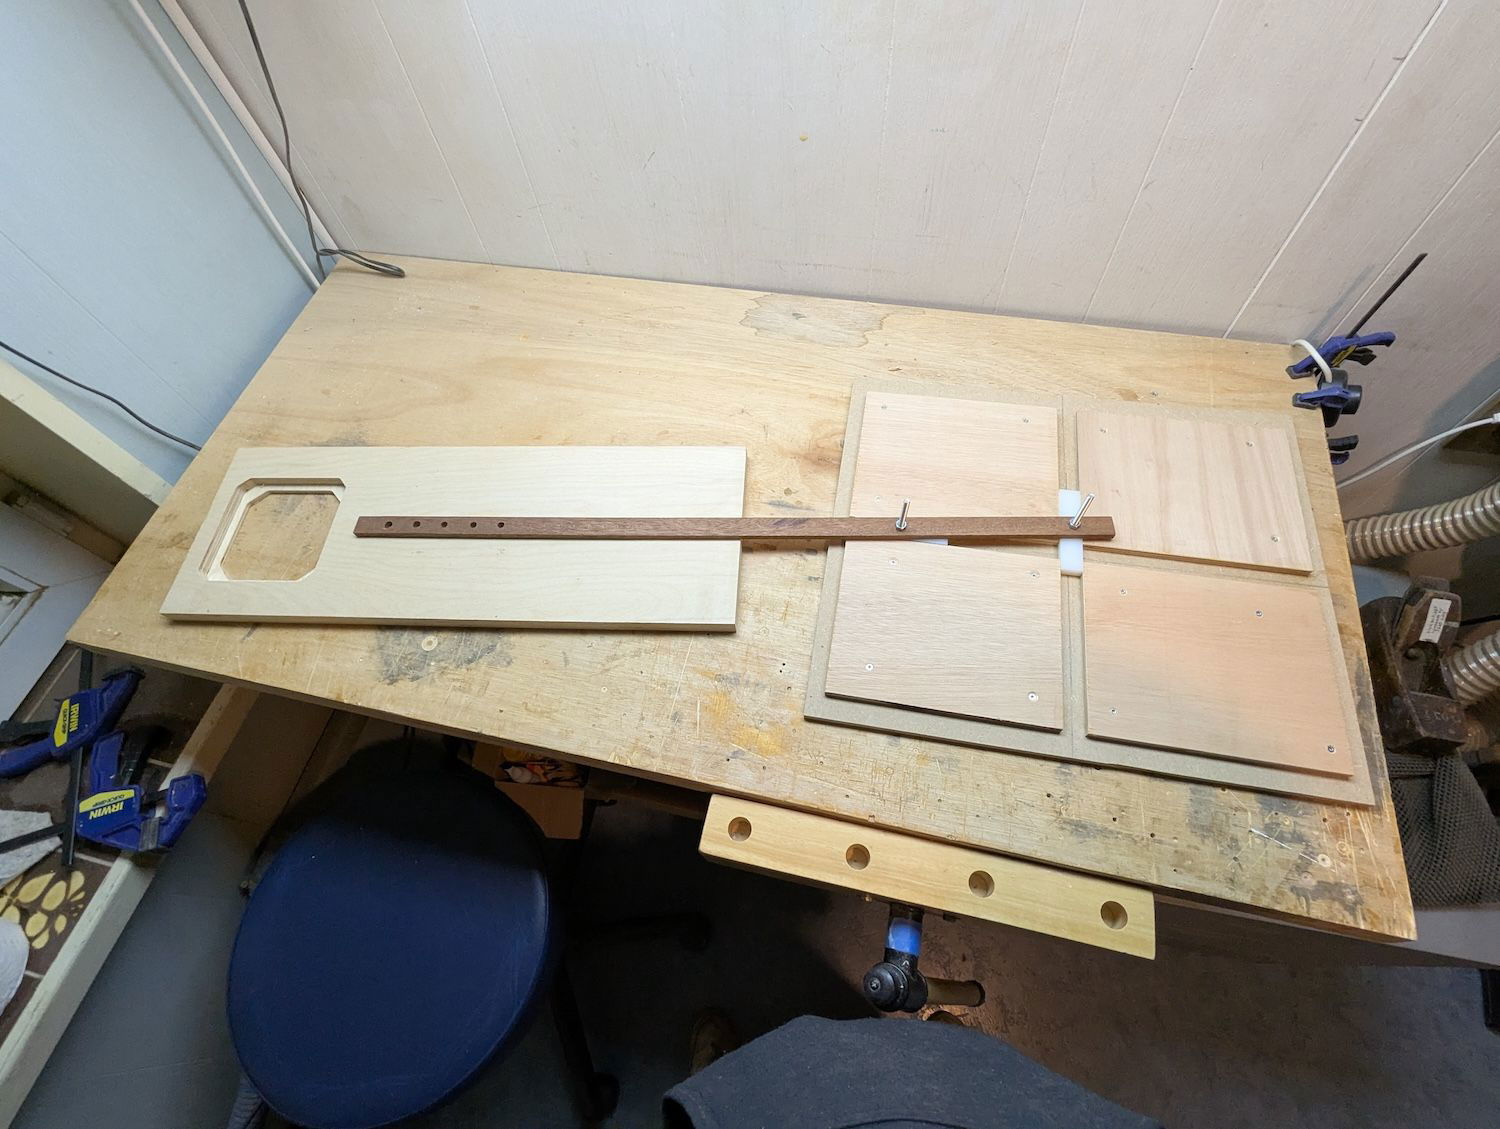
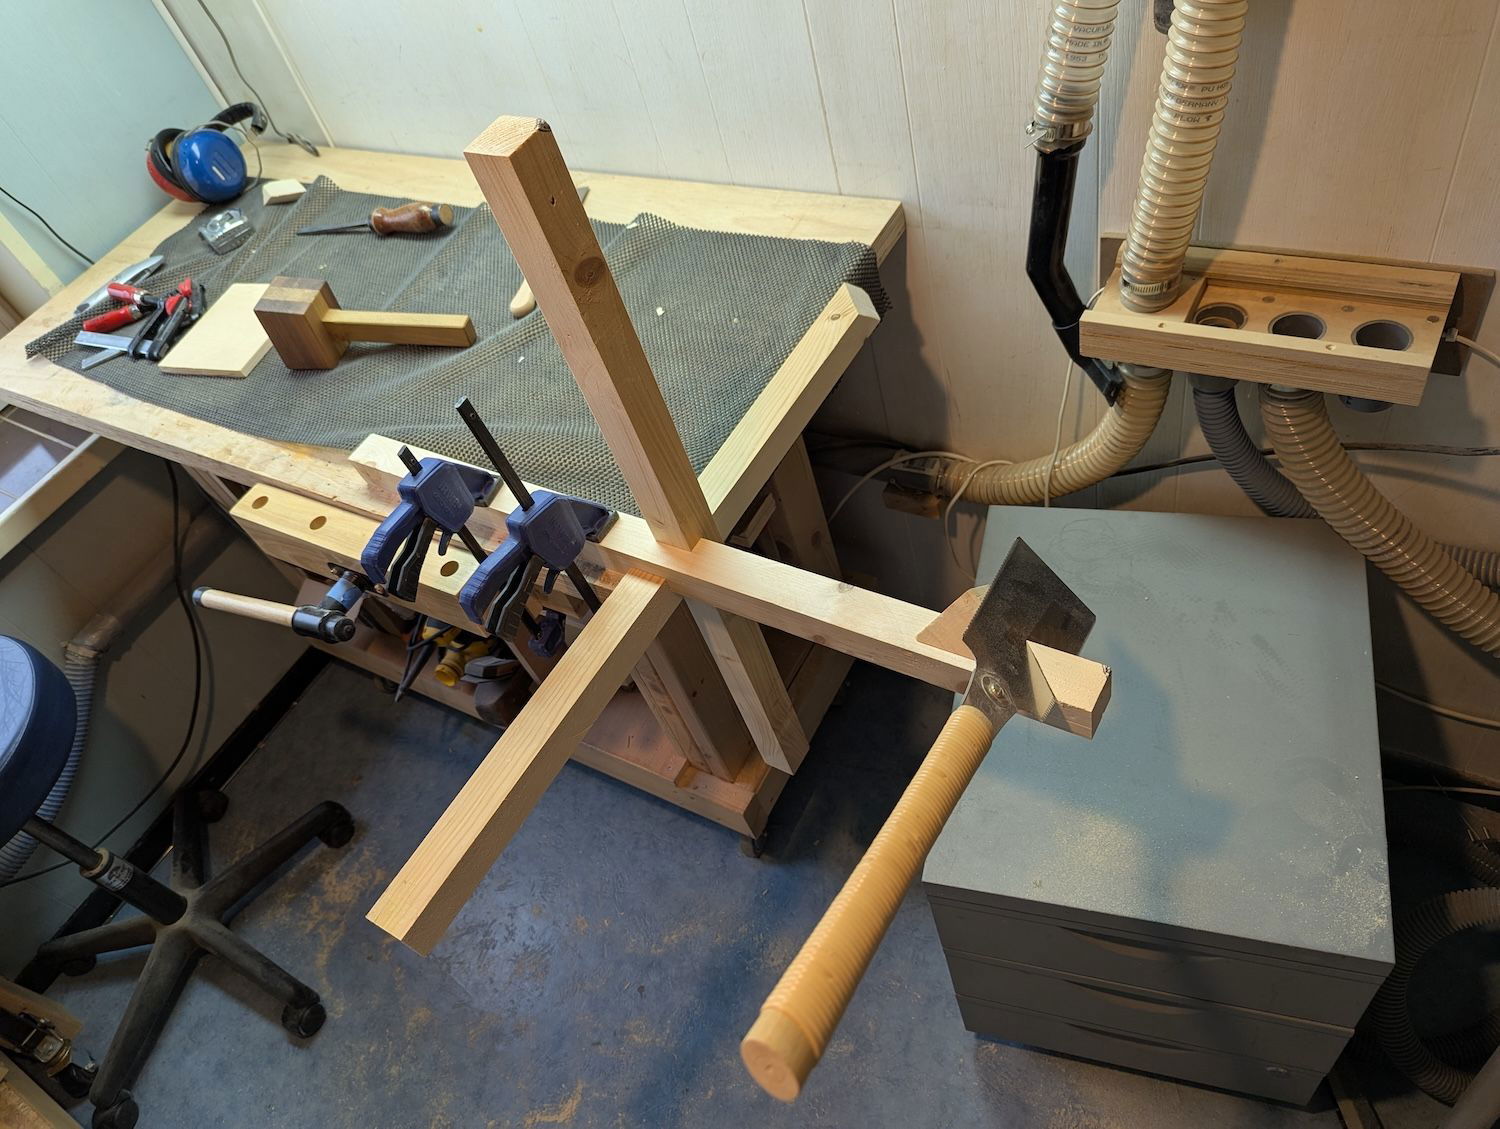
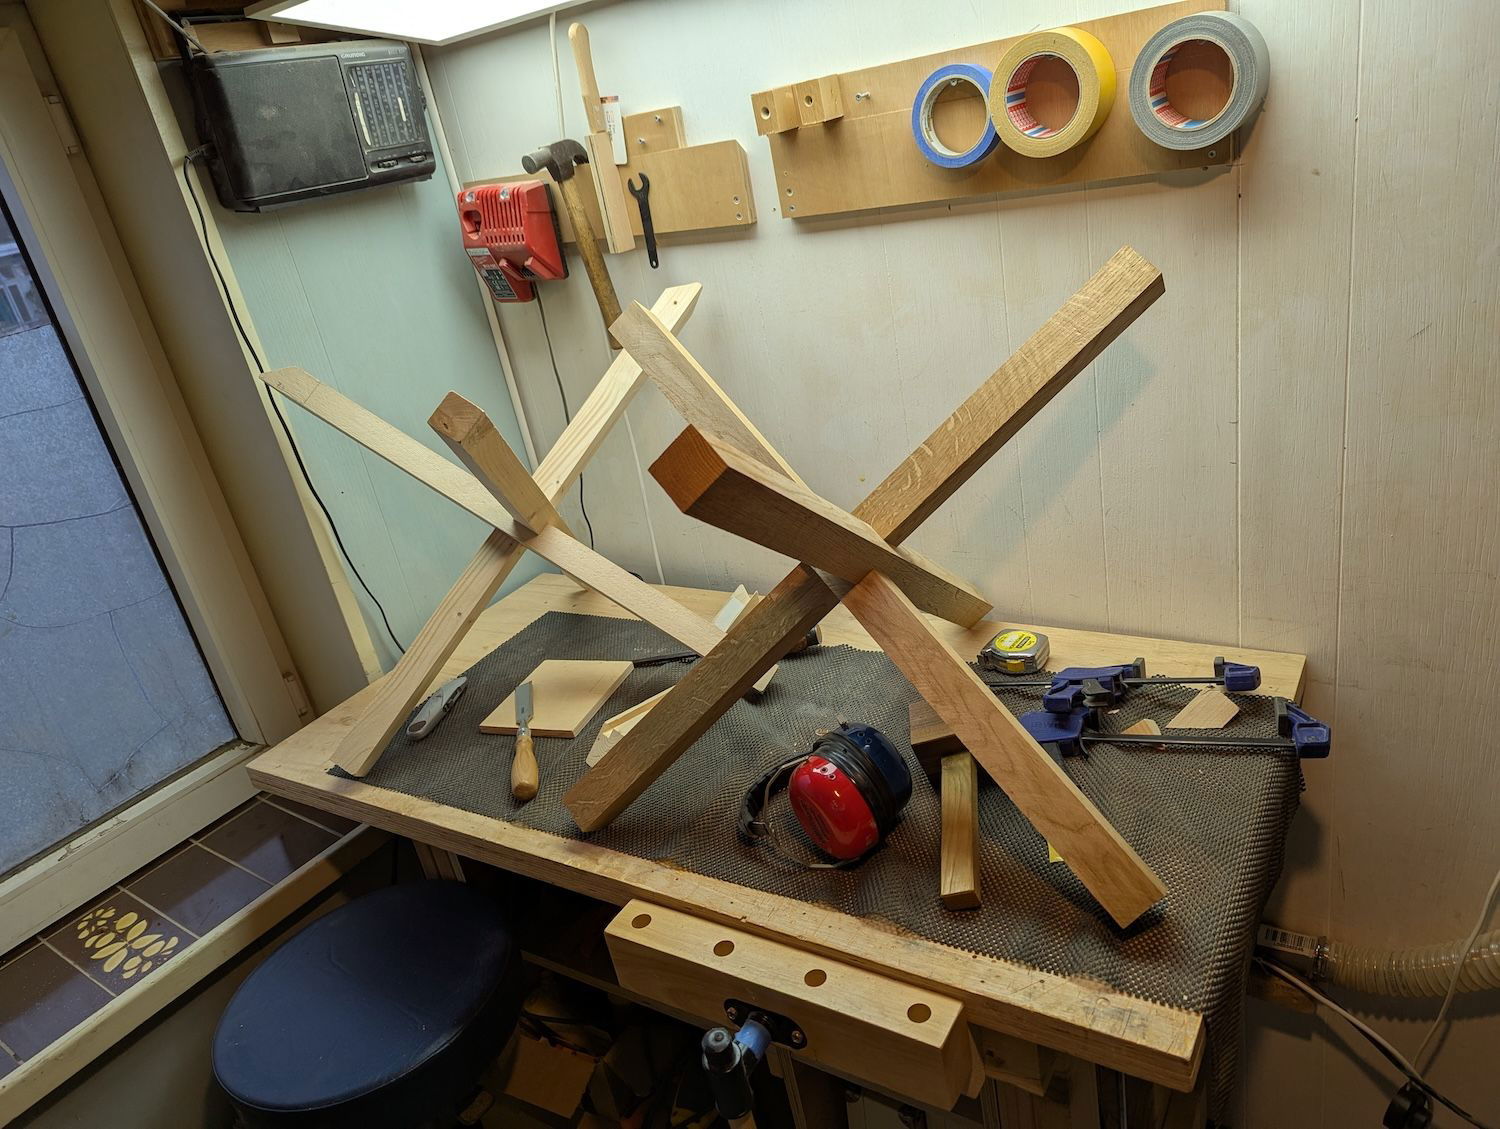
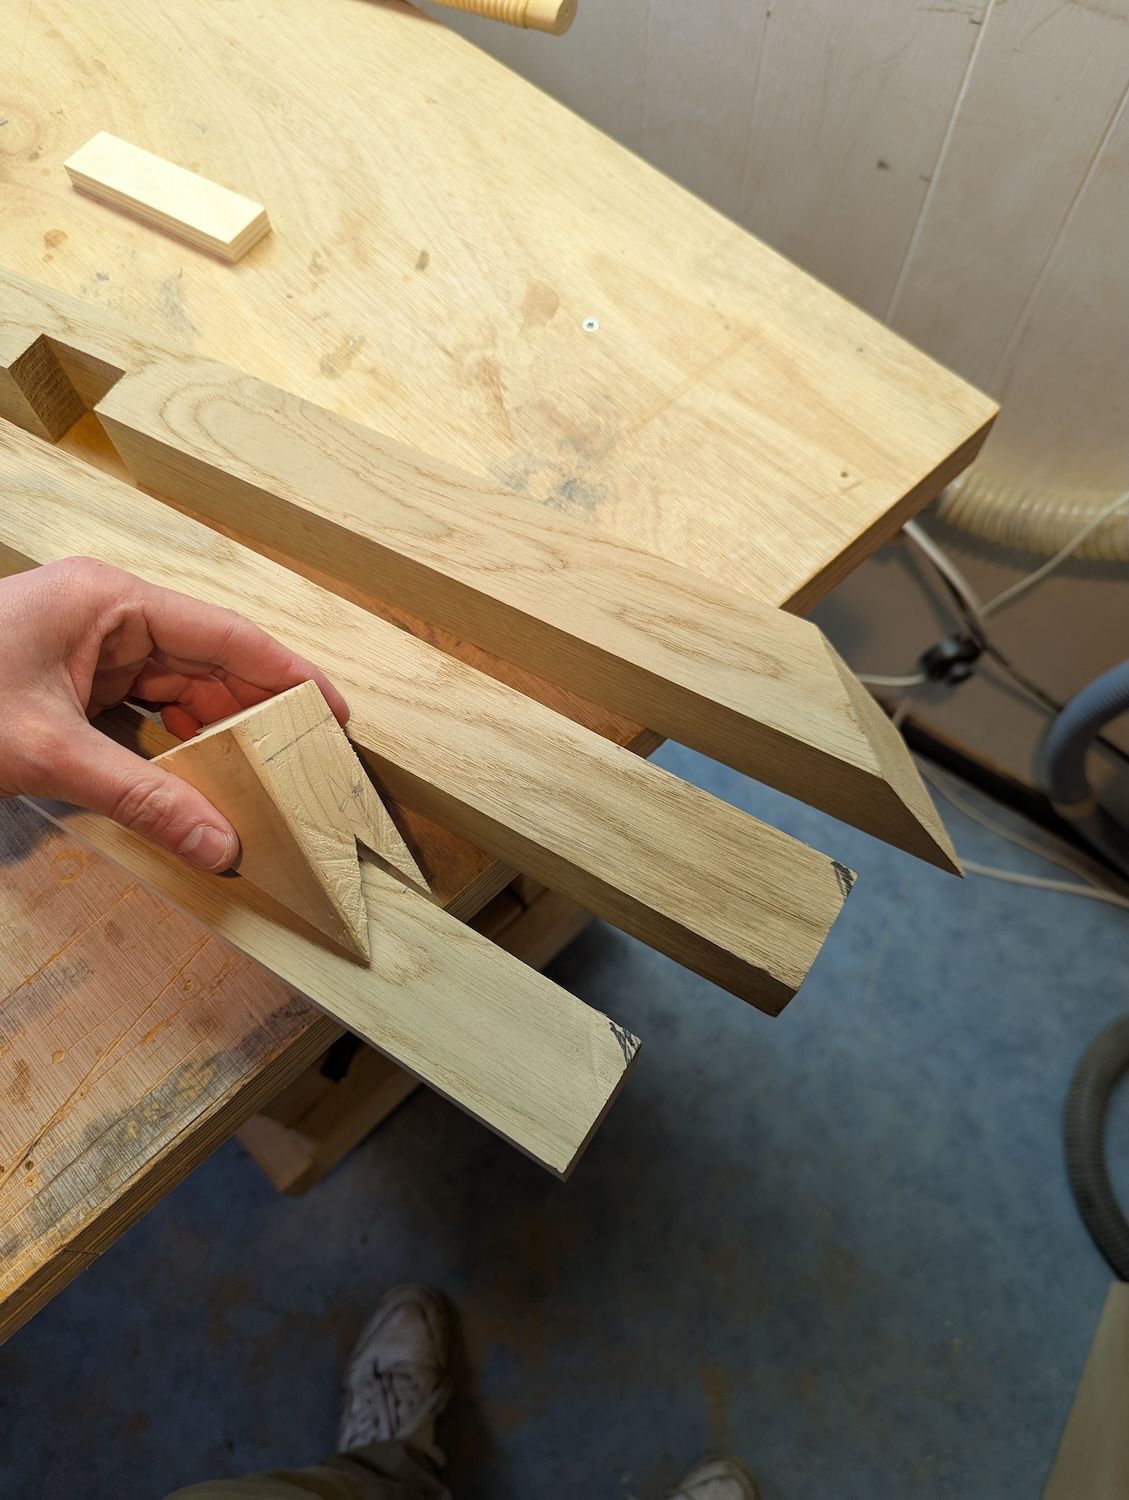
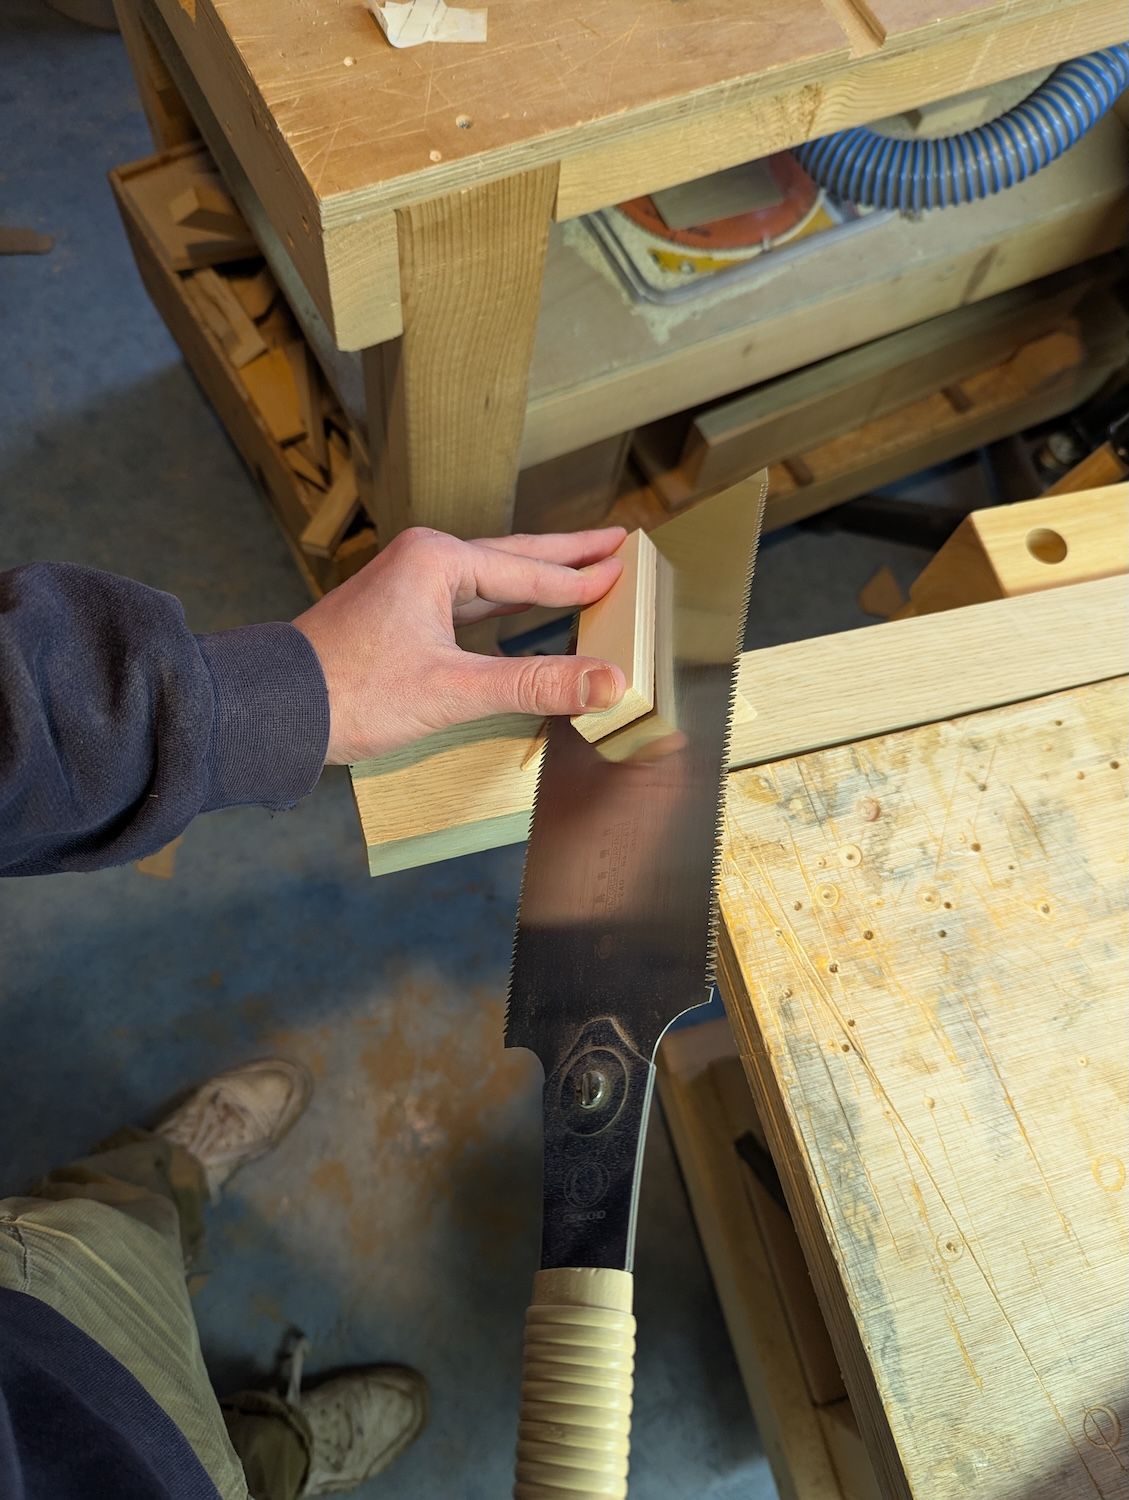
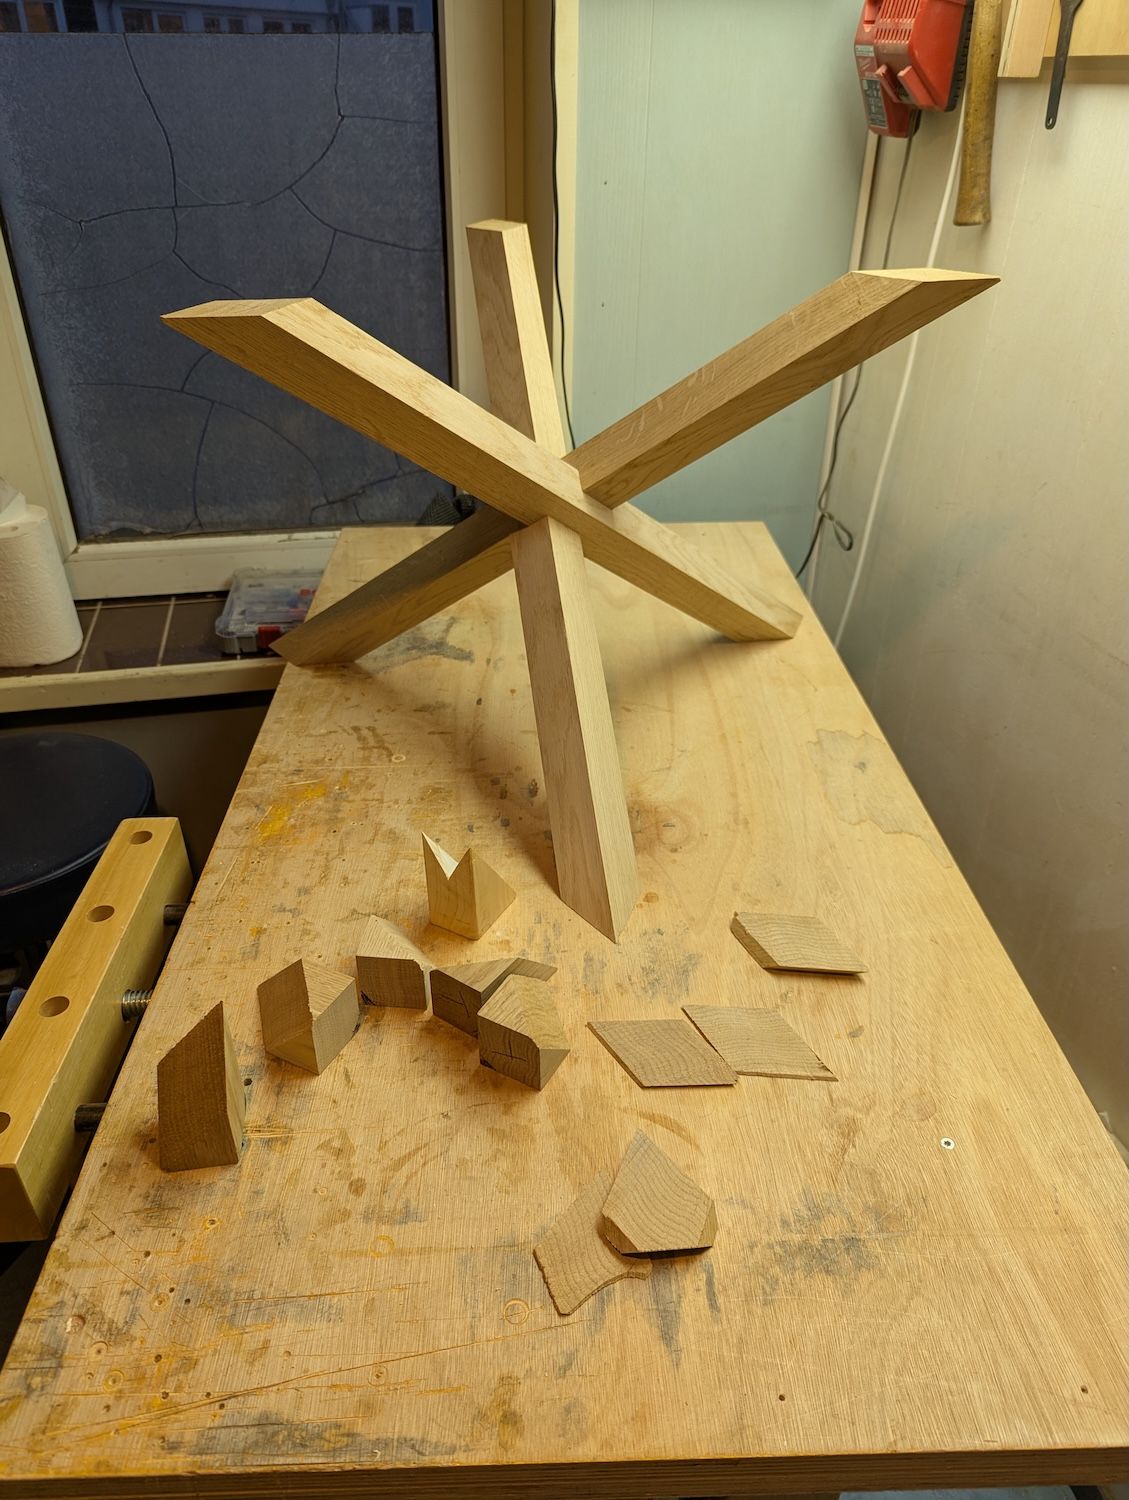
For the base i had some oak lying around that i figured would be just large enough to great some legs out of. I found a relatively simple design that just required 3 straight legs with 3 halflap joints. The trickiest part would be getting flat ends ont he legs. So i made a quick prototype from some leftover 4x8 construction lumber. I made a super simple guide for my saw by cutting a 2 45 degree angled cuts into a wedge that was sawn at the angle the legs meet de floor.

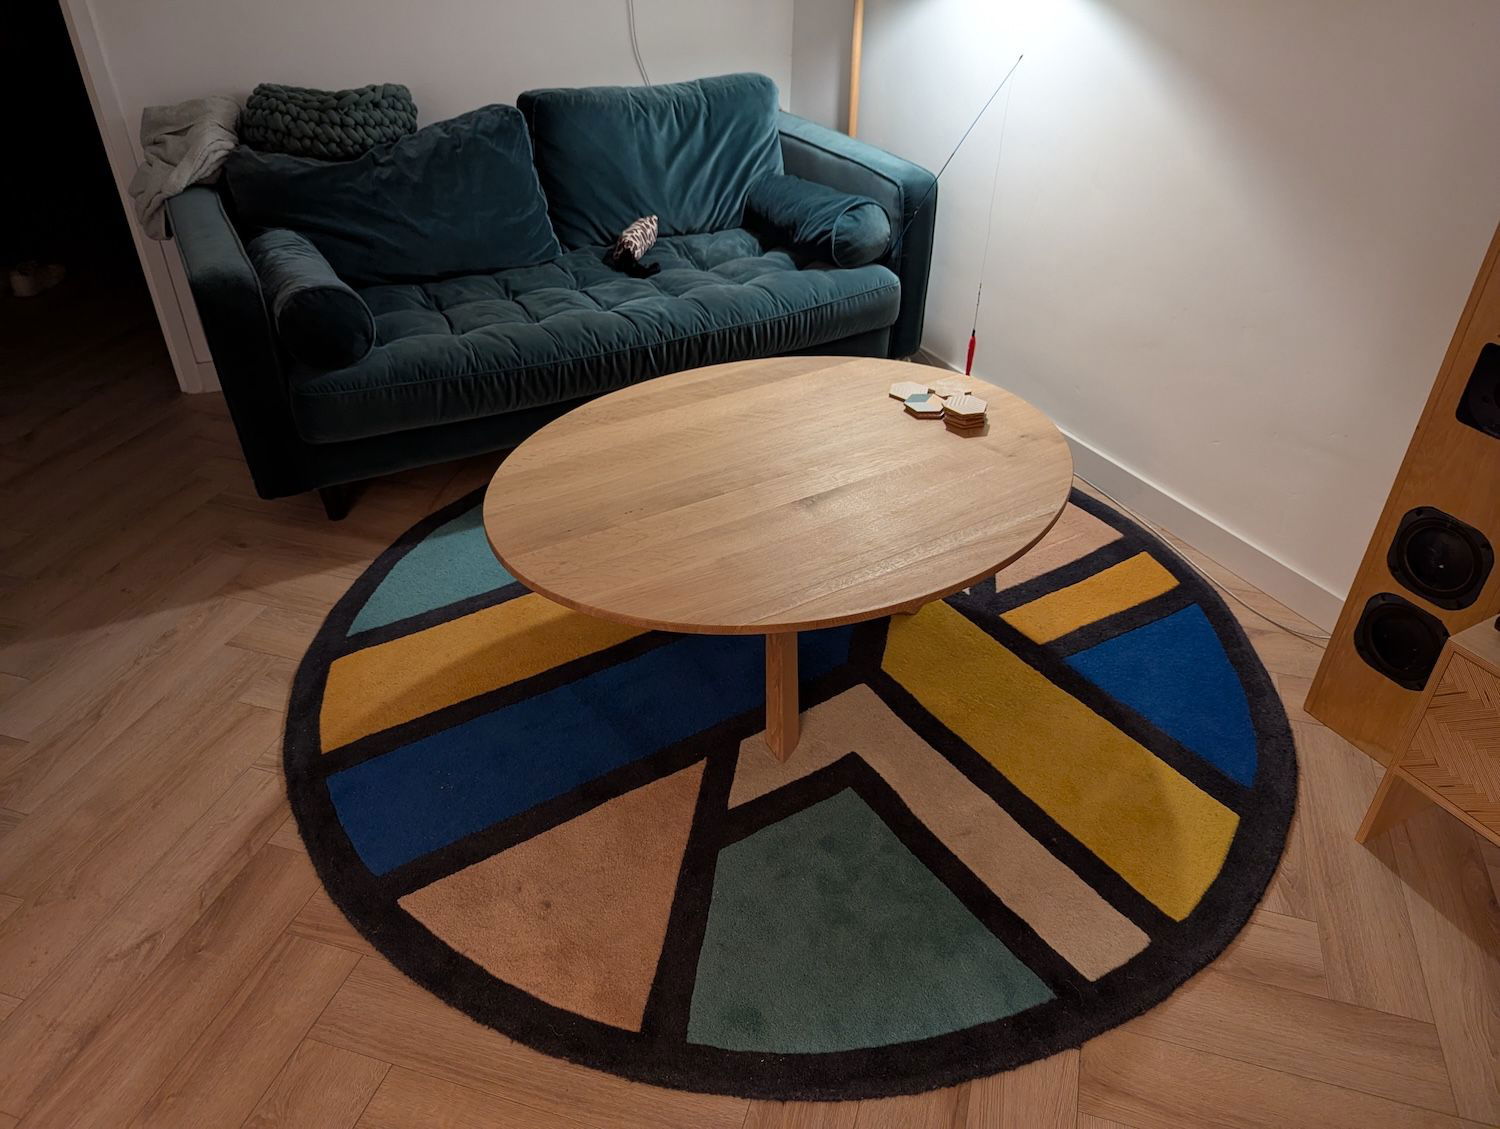
And it’s time for finishing. I used 2 coat of Osmo 3041 hardwax oil. This has some white pigment in it to give the oak a more natural look. I’ve used Osmo a lot before and like how it’s easy to apply. Waited a full day to apply the second coat. In the end i think the base it just a tad too small for the table. So i’ll probably build a new base for this table and build a new smaller top for this base.